


· By FryAway
How to Clean Grease From Stove for a Spotless Kitchen
Let's be honest, cleaning grease off a stove is one of those kitchen chores nobody looks forward to. The secret isn't scrubbing harder, but smarter. It all boils down to using the right degreaser—whether that's a store-bought spray or a simple mix of baking soda and vinegar—to dissolve the grime before you even start wiping.
The real key, though, is matching your cleaning game to your stove type and, most importantly, dealing with splatters right away. A fresh spill is a minor inconvenience; a baked-on, polymerized mess is a weekend project.
Why a Clean Stove Matters More Than You Think
A greasy stovetop is more than just an eyesore; it's a magnet for kitchen grime and bacteria. When that gunk builds up, it doesn't just look gross. The next time you heat up a burner, that old grease can start to smoke, filling your kitchen with a nasty smell and maybe even setting off your smoke alarm.
Worse, in some cases, a heavy accumulation of grease can become a genuine fire hazard. So, keeping your stove clean isn't just about appearances—it's about keeping your kitchen safe and your appliances running efficiently.
The trick to actually getting your stove clean is knowing what kind of mess you're dealing with. A light splatter from pan-searing a steak is a world away from the stubborn, sticky film that’s been cooking on for weeks. Once you get that, you're halfway there.
Preventing the Mess Before It Starts
You know what they say: an ounce of prevention is worth a pound of cure. While you can't stop every single splatter—especially when you're making something delicious and fried—you can eliminate one of the biggest sources of stovetop grease.
I'm talking about getting rid of used cooking oil. We’ve all been there. You leave the pan to cool, planning to deal with it later, and it either spills or sits there until it becomes a sticky mess. And pouring hot oil down the sink? That’s just asking for a massive plumbing bill.
This is where a product like FryAway completely changes the game. It’s a 100% plant-based powder that makes getting rid of used cooking oil ridiculously easy and clean.
Picture this: you've just fried up a perfect batch of crispy Southern Fried Catfish in cooking oil. Instead of a pan full of hot, sloshing oil to worry about, you can turn it into a solid puck you just toss in the trash.
It couldn't be simpler:
- Sprinkle and Stir: While the oil is still hot, just sprinkle in the FryAway powder and give it a quick mix.
- Cool Down: Let the pan cool completely. You'll see the oil transform into a solid, waxy disk right before your eyes.
- Toss into household trash: Once it's hard, you can scoop it right out of the pan and throw it in your regular garbage bin.
No spills. No clogged pipes. And no greasy residue left on your stovetop.
By making this one small change to your cooking routine, you cut out a huge source of grease buildup. It makes your regular cleaning so much faster and turns a dreaded chore into a quick, satisfying final step.
Setting Up for a Successful Deep Clean
Before you even think about scrubbing, let's talk prep. A truly good deep clean is all about the setup. Taking a few minutes to get organized now not only makes the job go smoother but also saves you from accidentally damaging your stove or making an even bigger mess. Think of it as creating your battle station—it’s the secret to getting that grease off safely and without a headache.
First things first, and I can't stress this enough: safety. Your stove needs to be completely cool to the touch. No exceptions. Then, disconnect it from its power source. For an electric stove, that means pulling the plug right out of the wall. If you’ve got a gas stove, find the supply valve—it's usually behind the appliance—and turn it off.
This isn't just a friendly tip; it's a critical safety step. Messing with an appliance that’s still connected to live electricity or an active gas line is incredibly dangerous. Always double-check that everything is off before you move on.
Dismantle and Organize Your Cooktop
With the stove safely powered down, it’s time to clear the deck. Gently remove all the loose parts from your stovetop. This usually includes:
- Stove Grates: Lift these off and set them aside. If they’re already looking grimy, I like to put them straight into an empty sink to contain the mess.
- Burner Caps and Heads: These little discs and the pieces beneath them should lift right off.
- Control Knobs: Most knobs pull straight off their posts. Use a gentle but firm tug to avoid snapping the plastic stems inside.
Trust me, you’ll want to keep these small parts together. My go-to trick is to toss all the knobs, caps, and other little bits into a bowl or a zip-top bag. This stops a knob from making a great escape across the counter and getting lost under the fridge, which makes putting everything back together a breeze.
Protect Your Workspace
Grease and cleaners have a knack for getting everywhere. To avoid a secondary cleanup mission on your countertops and floors, lay down some protection. Old towels, a stack of newspapers, or a cheap plastic drop cloth all work great. Drape them over the counters next to the stove and spread one on the floor in front of it.
This simple step keeps the mess contained and makes the final wipe-down so much faster. Now that your stove is disconnected, its parts are organized, and your kitchen is protected, you’re ready to get to the real work.
Cleaning Strategies for Every Stove Type
Let’s be honest: not all stoves are the same. What works wonders on a rugged old gas range might permanently scar a sleek, modern glass cooktop. The real secret to getting grease off any stove isn't just scrubbing harder—it's about tailoring your attack to the specific material you're dealing with. This way, you remove the gunk without causing scratches, weird stains, or worse.
But before we jump into the specifics, there are a few universal ground rules. Always unplug the appliance first. Then, get all the removable bits like grates and knobs out of your way. Finally, protect the surrounding countertops and floor from splashes.
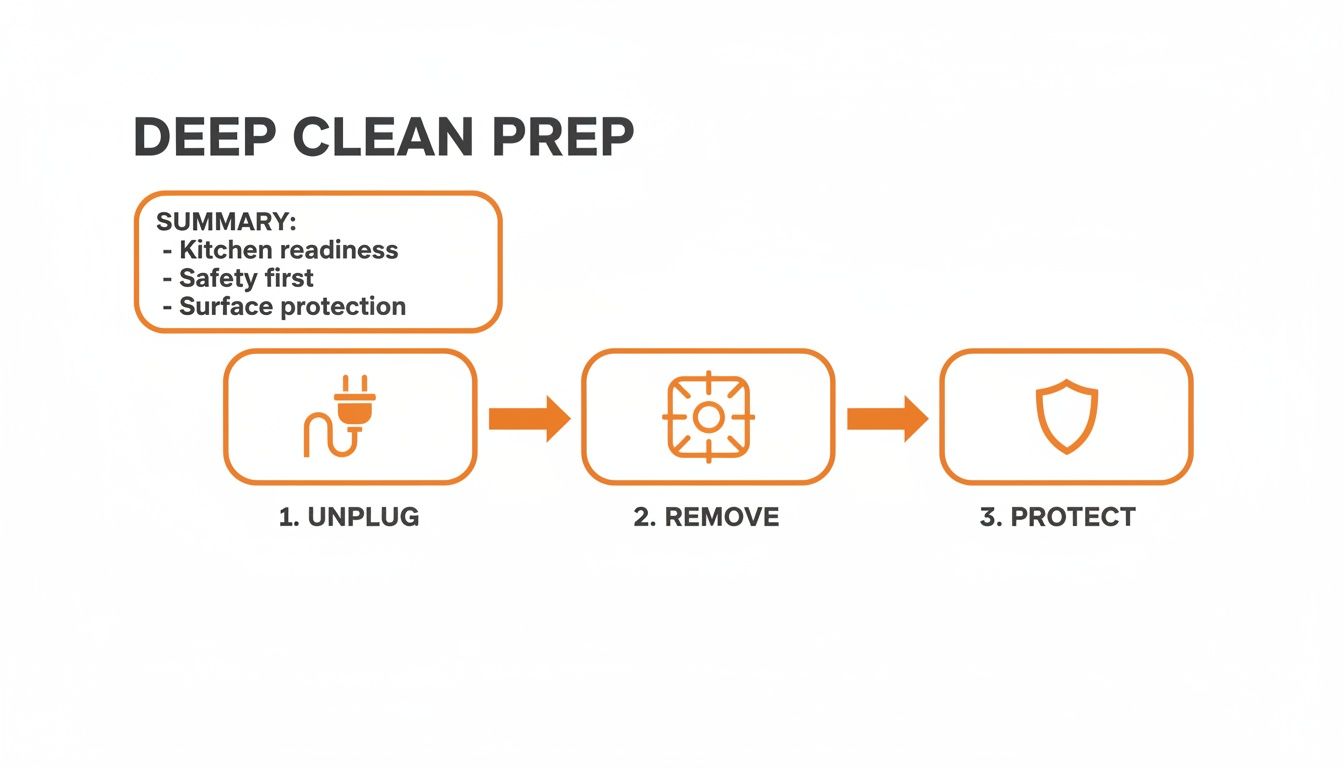
Nailing these three simple steps—unplug, remove, protect—sets you up for a safer, faster, and much less messy cleaning session.
Tackling Glass and Ceramic Cooktops
Glass and ceramic stovetops look fantastic, but their smooth, shiny surfaces are notorious for showing every scratch and streak. The golden rule here? No abrasives. Ever. That means putting away the steel wool, harsh scouring pads, and gritty cleansers.
Your best friend for this job is a simple paste made from baking soda and water. You’re aiming for a consistency like toothpaste. Spread it over the greasy spots, then just walk away for about 15-20 minutes. The baking soda gently breaks down the grease without harming the glass.
For those super stubborn, burnt-on messes, a dedicated cooktop scraper is a must-have. Just make sure it has a fresh razor blade. Hold it at a low angle, around 30-45 degrees, and gently push forward to lift the grime off the surface. Wipe everything clean with a damp microfiber cloth, and finish with a quick spritz of white vinegar for that perfect, streak-free shine.
Cleaning a Gas Stove and Its Components
Gas stoves are a different beast entirely, with all their moving parts: grates, burner caps, and the cooktop surface itself. You’ve got to tackle each one separately.
For the Grates and Burner Caps:
Most grates are either cast iron or enamel-coated, and the easiest way to clean them is to give them a good soak. Pop them in a sink full of hot, soapy water—a good degreasing dish soap is perfect for this—and let them marinate for at least 30 minutes to an hour.
Once they've soaked, grab a non-abrasive scrub brush or sponge to work off the softened grease. If you're dealing with ridiculously baked-on grime, making a thick baking soda paste and letting it sit on the grates for a while will give you some extra cleaning muscle.
One of the biggest mistakes people make is plunging hot cast iron grates into cold water. This can cause them to crack! Always let them cool down completely before you start cleaning.
The cooktop itself, which is usually enamel or stainless steel, can be cleaned with a soft cloth and soapy water. If you have a stainless steel model, you'll want to check out some specialized tips for cleaning stainless steel stovetops like a pro.
Managing Electric Coil Stoves
Electric coil stoves are workhorses, but their removable coils and drip pans are absolute magnets for grease and spills. First things first: make sure the coils are completely cool and the stove is unplugged. The coils can usually be removed by lifting them slightly and pulling them out of their socket.
Once the coils are out, you can lift out the drip pans underneath. These pans take the brunt of every spill and can get seriously caked with burnt-on food.
Soak the drip pans in hot, soapy water, just like you would with gas stove grates. If they're especially nasty, a commercial oven cleaner might be necessary. Just be sure to read the manufacturer’s instructions first, as harsh chemicals can damage the finish on some pans.
The surface under the coils can be wiped down with a sponge and soapy water, but be very careful to keep the electrical connection points dry.
All this cleaning requires the right products, and it's a big market. The oven and stove cleaner industry is valued at an impressive USD 2.5 billion in 2024. When you consider that high-heat cooking can leave behind 0.5 grams of grease per hour, it’s easy to see why we all need powerful cleaners to cut through the grime.
Stove Cleaning Method Comparison
To make things even easier, here’s a quick-glance table to help you choose the right approach for your specific stove.
| Stove Type | Recommended Cleaner | Best Tools | Key Precaution |
|---|---|---|---|
| Glass/Ceramic | Baking soda paste, white vinegar | Microfiber cloths, cooktop scraper | Never use abrasive pads or steel wool |
| Gas | Degreasing dish soap, baking soda | Non-abrasive brush, soft cloth | Allow cast iron grates to cool completely |
| Electric Coil | Degreasing dish soap, commercial oven cleaner | Sponge, scrub brush | Avoid getting electrical sockets wet |
| Stainless Steel | Specialized stainless steel cleaner, soapy water | Microfiber cloths, soft sponge | Always wipe in the direction of the grain |
This chart should help you grab the right tools and cleaners from the get-go, saving you time and preventing any accidental damage.
Smart Grease Disposal After Frying
Let's face it, one of the best ways to keep your stove clean is to manage cooking grease before it becomes a problem. After you've whipped up a batch of crispy fried chicken or french fries using cooking oil, you're left with a pan of hot, messy oil. Dealing with it is often the worst part of the cleanup.
This is where a product like FryAway completely changes the game. It makes getting rid of used cooking oil ridiculously simple and stops grease from splattering on your stovetop or clogging your drains.
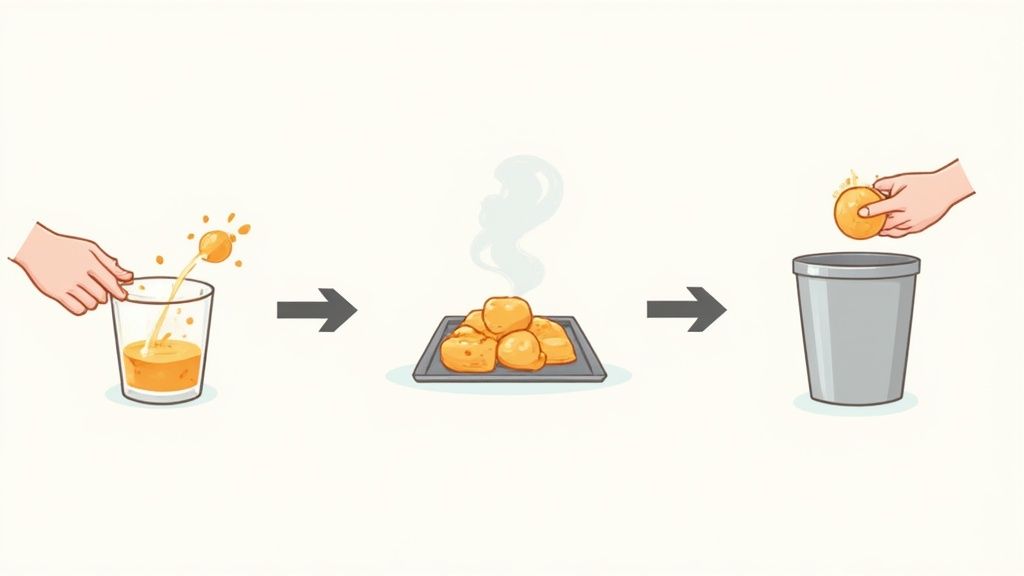
It’s a simple three-step process:
- Sprinkle and Stir: As soon as you're done cooking, while the oil is still hot, just sprinkle the FryAway powder into the pan. Give it a quick stir until it dissolves.
- Cool Down: Now, just set the pan aside to cool. As it does, FryAway works its magic, turning that liquid oil into a solid, waxy puck.
- Toss into household trash: Once it’s completely solid, you can easily scoop the hardened oil out and toss it right into your regular trash bin. No mess, no spills.
Adopting this habit is a huge step toward keeping your stove pristine. It’s a proactive move that makes cleanup faster and cleaner. If you're curious about other ways to handle grease, you might like our guide on the best grease cleaner for your kitchen.
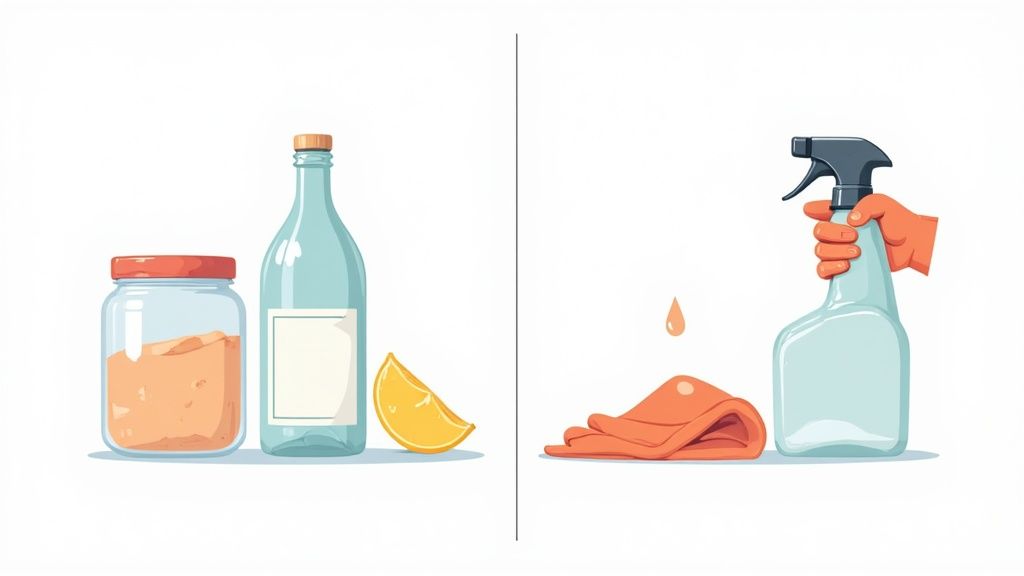
Choosing Your Cleaning Weapon: DIY vs. Commercial
When you're staring down a greasy stovetop, you've got two main arsenals: the commercial cleaners from the store and the secret weapons hiding in your pantry. Deciding which to grab often comes down to the scale of the mess, what you have on hand, and your personal preference. There’s no single right answer, but knowing the pros and cons of each will help you pick the perfect tool for the job.
Many of us prefer to start with what we already own. It's not just about saving money; DIY cleaners give you total control over the ingredients you're using around your food. It’s a huge trend—the surface cleaning market, valued at $17.9 billion in 2020, is booming as people look for effective ways to tackle grime. And it's important, since lingering grease can contribute to 15% of bacteria growth in the kitchen.
DIY Degreasers From Your Pantry
For those everyday splatters and light buildup, homemade solutions are surprisingly powerful. They rely on simple, safe chemical reactions to break down fats and oils, making them easy to wipe away.
-
Baking Soda and Vinegar Paste: This is the classic combo for a reason. Just mix baking soda with a little water until you have a thick paste. Slather it over the greasy spots (on a cool stovetop, of course) and let it work its magic for 15-20 minutes. Then, spritz it with white vinegar—the fizzing action literally lifts the grime—and give it a gentle scrub with a soft sponge.
-
Dish Soap and Water Spray: Never underestimate the power of a good degreasing dish soap. A spray bottle filled with warm water and a generous squeeze of soap is perfect for a quick wipe-down right after you cook. It's the best way to stop grease from getting a foothold.
-
Lemon Juice Power: The citric acid in lemon juice is a fantastic natural degreaser. You can dab it directly onto stubborn spots or mix it with water in a spray bottle for a cleaner that smells as good as it works. For those interested in other powerful DIY options, understanding food-grade hydrogen peroxide as a cleaning agent can offer some great insights.
When to Bring in the Big Guns: Commercial Cleaners
Let's be real—sometimes you’re up against a level of gunk that pantry staples just can't conquer. I'm talking about that thick, yellowish, sticky film that’s been baked on for who knows how long. That’s when a commercial degreaser is worth every penny.
Commercial cleaners are formulated with powerful surfactants and solvents specifically designed to dissolve polymerized grease—the toughest kind to remove. Just remember to work in a well-ventilated area and always wear gloves to protect your skin.
Store-bought cleaners typically come in two main types:
- Alkaline-Based Cleaners: With a high pH, these are brilliant at turning grease into a soap-like substance (a process called saponification), which makes it a breeze to wash away.
- Solvent-Based Cleaners: These use chemicals to dissolve grease and oil directly. They work fast but often come with strong fumes, so crack a window open.
Always, always check the label to make sure the product is safe for your specific stovetop, whether it's glass, enamel, or stainless steel. The wrong cleaner can cause permanent damage. If you're looking for more tips on keeping your kitchen pristine, check out our guide on https://fryaway.co/blogs/archive/all-natural-cleaning.
No matter which cleaner you choose, the easiest way how to clean grease from stove is to prevent it from building up in the first place. Think about it: after frying up some delicious tempura or beignets, you're left with a pan full of used cooking oil—the number one source of stovetop mess.
This is where a product like FryAway can be a game-changer. It’s a simple plant-based powder that solidifies used cooking oil, making disposal completely mess-free.
- Sprinkle and Stir: Just add the powder to your hot oil after you're done cooking.
- Cool Down: Let the pan sit until the oil hardens into a solid puck.
- Toss into household trash: Scoop it out and throw it straight into the garbage.
By getting liquid oil out of your cleanup routine, you eliminate the spills and splatters that create a greasy stove to begin with. It's a simple habit that makes those future deep-cleans far less of a chore.
Want to Know the Real Secret to a Grease-Free Stove? Prevent It.
After all that scrubbing, let me tell you the best way to clean grease off your stove: don’t let it get there in the first place. A little proactive thinking can completely change your kitchen routine, turning a chore you dread into a total non-issue. So, what’s the biggest culprit? Usually, it's that pan of used cooking oil left to cool on the stovetop, just waiting to be spilled.
This is where a product like FryAway becomes your secret weapon. It’s a plant-based, non-toxic powder that brilliantly solves the messy problem of used cooking oil. Instead of dealing with a sloshing, greasy pan, FryAway turns that liquid grease into a solid puck you can just toss in the trash. No more spills, no clogged drains, and no more questionable jars of old oil stashed under the sink.
The demand for smarter kitchen cleaning solutions is huge. The kitchen grease cleaner market was valued at around USD 2.1 billion in 2023 and is projected to hit USD 3.8 billion by 2032. A big driver is hygiene awareness, with 78% of households reporting they clean more often now. It’s clear that people are looking for better, easier ways to keep their kitchens clean.
Let's Test It Out with Some Crispy Fried Chicken
There's no better test for a grease solution than a recipe that leaves behind a ton of oil. This Crispy Fried Chicken is the perfect candidate—it's absolutely delicious, but you know it’s going to leave you with a pan full of grease to deal with.
What You'll Need:
- 4 bone-in, skin-on chicken pieces (thighs or drumsticks are great for this)
- 1 cup all-purpose flour
- 1 tablespoon paprika
- 2 teaspoons salt
- 1 teaspoon black pepper
- 1 teaspoon garlic powder
- 1 egg, beaten
- 2 cups of vegetable or canola oil for frying
Once you've devoured that perfectly crispy chicken, you'll be left with a pan of hot, used oil. This is where the magic happens.
Cleanup in 3 Simple Steps
Using FryAway is almost laughably easy. Just three steps stand between you and a mess-free pan.
-
Sprinkle and Stir
While the oil is still hot, just sprinkle the FryAway powder right into the pan. Give it a gentle stir for a minute or so until the powder dissolves completely. -
Cool Down
Now, just set the pan aside somewhere safe and let it cool down. As it does, you'll watch the liquid oil transform into a solid, waxy puck. It’s pretty satisfying to see. -
Toss into household trash
Once the oil has fully solidified, grab a spatula and scoop the puck right out of the pan. You can toss it directly into your household trash.
That's really all there is to it. The pan is practically clean, your stove is safe from spills, and you've handled the oil in an eco-friendly way. This simple habit cuts down on future cleaning more than you can imagine.
By tackling the mess at its source, you stop grease before it ever becomes a problem. It's one of the most effective and unexpected ways FryAway simplifies kitchen cleanup, making cooking and cleaning feel a whole lot less like a chore.
Maintaining a Sparkling Clean Stove
You've put in the work to get your stovetop gleaming, so the last thing you want is a repeat performance next week. The real secret to keeping it clean isn't about more scrubbing; it's about building a few smart, simple habits that stop grease from building up in the first place.
This approach transforms a dreaded chore into a quick, easy routine.
The single most effective habit you can start today is the one-minute wipe-down. After you finish cooking and the stove has cooled a bit, just give it a quick pass with a damp cloth or a spray of soapy water. This simple move prevents fresh splatters from turning into that stubborn, sticky film that’s so tough to get off later.
Another game-changer? A splatter guard. Using one when you’re pan-frying will dramatically cut down on the oil that ends up all over your stove, saving you a ton of cleaning time.
A Weekly Checklist for a Lasting Shine
To keep that just-cleaned look going, a quick weekly check-in is all it takes. This isn’t a deep clean, just a few minutes to hit the spots you might have missed during your daily wipe-downs.
- Knob Check: Pull off the control knobs and wipe down the area underneath. This spot is a notorious trap for drips and grime.
- Burner Detail: For gas stoves, do a quick wipe around the base of the burners. On electric models, give the drip pans a quick look for any new spills.
- Surface Polish: Give the entire surface a final buff with a clean microfiber cloth to erase any streaks and bring back that shine.
Simplify Your Cleanup After Frying
Let's be real—one of the biggest sources of stove grease is the aftermath of frying. Instead of letting a greasy pan sit around, you can get ahead of the mess entirely with FryAway. Imagine frying up a batch of crispy onion rings or delicious donuts, and the cleanup is the easiest part.
It’s a simple three-step process:
- Sprinkle and Stir: While the cooking oil is still hot, just sprinkle in the FryAway powder and give it a quick mix until it all dissolves.
- Cool Down: Let the pan cool completely. You'll see the oil magically transform into a waxy, solid puck.
- Toss into household trash: Scoop the hardened oil right out of the pan and toss it straight into your regular garbage bin. No mess, no fuss.
By making this part of your routine, you stop greasy spills and splatters before they even happen, making stove maintenance almost effortless.
Got Questions About Cleaning Your Stove?
Even with the best guide, a few questions always come up right when you're about to pull on the cleaning gloves. Getting those last-minute answers can be the difference between a job well done and a frustrating afternoon. Let's tackle some of the most common ones so you can get started with confidence.
One of the first things people ask is how often they really need to deep clean their stove. For the average kitchen, a thorough scrub-down every 3-4 months is a great target. But if you’re a fan of pan-searing steaks or frying up bacon on the weekends, you’ll probably notice that sticky film building up faster. In that case, bumping it up to a monthly deep clean is your best bet.
Dealing With Tricky Stove Parts
What about using steel wool on cast iron grates? It's a tempting thought, especially when faced with baked-on gunk. While cast iron is a beast, steel wool can be a bit too aggressive, potentially scratching the surface or stripping away that precious seasoning you've worked so hard to build.
It’s always better to start with a less abrasive nylon brush and some hot, soapy water. If that doesn't cut it, a simple paste of baking soda and water is a fantastic, and much safer, alternative for those really stubborn spots.
Another classic dilemma is cleaning around the control knobs without messing anything up. The trick is to gently pull the knobs straight off their posts. This lets you soak them in warm, soapy water while giving you clear access to wipe down the surface behind them. Just use a damp cloth—this keeps any liquid from getting into the electrical bits.
Quick heads-up: Never, ever use oven cleaner on your stovetop. It doesn't matter if it's glass, ceramic, or enamel. That stuff is formulated with incredibly harsh chemicals designed for baked-on oven messes, and it will permanently etch, discolor, or otherwise ruin your cooktop's finish.
A Smarter Way to Handle Grease
The best way to clean grease from a stove? Stop it from getting there in the first place. Think about the aftermath of frying up some crispy chicken or homemade donuts. That pan of leftover oil is ground zero for future grease splatters and sticky surfaces.
Instead of letting it sit or risking a messy trip to the trash can, a product like FryAway is a game-changer. It’s a plant-based powder that magically solidifies used cooking oil, so you can just toss it out.
The process couldn't be simpler:
- Sprinkle and Stir: Just add the powder to the hot oil right after you're done cooking.
- Cool Down: Let the pan sit for a bit until the oil hardens into a solid disk.
- Toss into household trash: Scoop the solid puck right into your household trash.
Making this a habit completely changes the game. No more spills, no more splatters, and your regular cleaning routine becomes infinitely easier.
Ready to make kitchen cleanup a breeze? Head over to FryAway and see how simple it is to handle used cooking oil without the mess. Check out their plant-based powder at https://fryaway.co.