


· By FryAway
How to Prevent Grease Fires: Essential Safety Tips
Preventing grease fires isn't about buying expensive gadgets or overhauling your kitchen. It’s about building smart, simple habits that become second nature. The real key is to create a 'safe zone' around your cooking space and make routine cleaning a non-negotiable part of your kitchen flow.
Building Your Fire-Safe Kitchen Foundation
Honestly, the best way to handle a grease fire is to never let one start in the first place. This proactive mindset begins long before you even turn on the stove. It's about consciously designing your cooking area to minimize risk until fire prevention becomes an unconscious, everyday habit.
The reality is that grease fires are a massive hazard in homes. In the United States, cooking oil, fat, or grease is the initial fuel source in a staggering 51% of all kitchen fires. On top of that, the National Fire Protection Association reports that two-thirds of home cooking fires ignite with food, fat, or grease. You can learn more about these common kitchen dangers from the experts at GreaseBusters.com.
These numbers aren't meant to scare you. They’re here to show how small, preventive actions can have a huge impact on your safety. A messy kitchen isn't just an eyesore; it's a collection of potential fire hazards waiting for a spark.
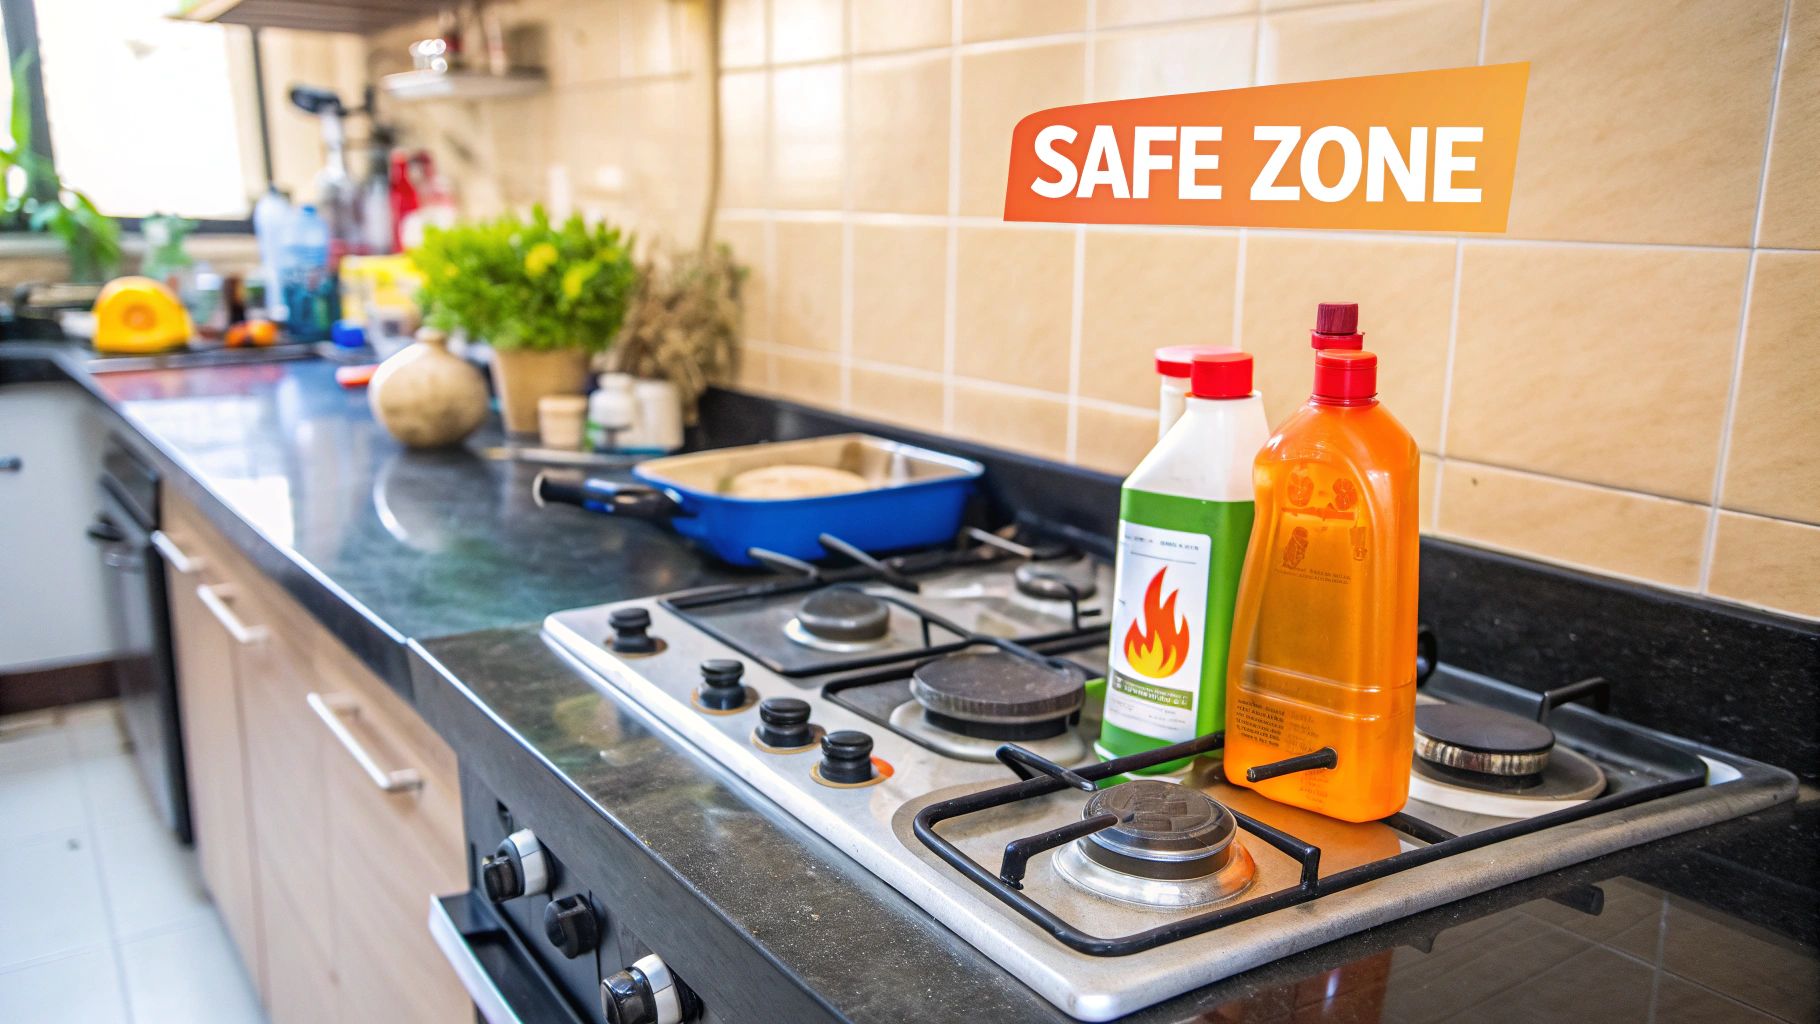
Create a Dedicated Safe Zone
Your first line of defense is carving out a clear, uncluttered space around your stovetop. Think of it as a "safe zone." It’s a simple but powerful concept: keep anything that can burn far away from the heat source.
You should aim for a minimum of three feet of clearance all around your cooktop. This includes a lot of common kitchen items that, let's face it, often creep way too close to the burners.
- Flammable Items: Move paper towels, dishcloths, oven mitts, and food packaging (like that cereal box or bag of chips) to a completely different counter.
- Wooden Utensils: Store wooden spoons and cutting boards in a drawer or crock away from the burners. While they don't ignite instantly, they are definitely fuel.
- Curtains and Decor: Make sure any curtains or decorative towels are well clear of the stove. A stray breeze from an open window could easily push them toward an open flame.
To make this easier to visualize, here's a quick checklist to help you set up and maintain your kitchen's safe zone.
Kitchen Safety Zone Checklist
This table breaks down the essential dos and don'ts for creating a fire-safe cooking area. Use it as a quick reference to spot and fix common hazards.
| Action Item | Best Practice (Do) | Common Mistake (Don't) |
|---|---|---|
| Clear the Area | Maintain a 3-foot clear radius around the stovetop. | Leaving oven mitts, towels, or paper on the counter next to the stove. |
| Manage Flammables | Store paper goods, food packaging, and cloths in a separate cabinet. | Storing cereal boxes or bags of chips on the counter near the heat. |
| Secure Decor | Ensure curtains and decorative items are safely tied back or hung away from the stove. | Letting curtains hang freely where a breeze could blow them over a flame. |
| Clean Surfaces | Wipe up grease splatters from the cooktop and surrounding areas after every use. | Letting grease build up on the stove, backsplash, or under burners. |
| Check Hood Filter | Clean the exhaust hood filter monthly to prevent flammable grease buildup. | Ignoring the exhaust filter, allowing it to become clogged and greasy. |
Following these simple rules consistently will dramatically lower your risk of a kitchen fire.
The Critical Role of Routine Cleaning
A clean kitchen is a safer kitchen. It's as simple as that. Grease is fuel, and allowing it to build up on your stovetop or in your exhaust hood is like setting up kindling for a fire.
A greasy stovetop or a clogged exhaust hood filter is a fire waiting to happen. Don't let overlooked cleaning tasks become the source of a kitchen emergency.
Make cleaning a regular part of your cooking process, not an afterthought. Wipe down your cooktop after it cools to remove splatters. Once a month, take a few minutes to clean your exhaust hood filter. This single habit dramatically reduces the amount of flammable material in the most dangerous area of your kitchen.
For a deeper dive, check out our comprehensive guide on kitchen safety guidelines and hot oil handling hacks.
Mastering Safe Cooking Habits With Oil
Once your kitchen is clean and organized, it's time to focus on the most important part of fire prevention: how you actually cook. When you're working with hot oil, safety isn't about mastering complex techniques. It's about simple, consistent vigilance.
The golden rule? Never leave a hot pan unattended. Seriously. It can feel harmless to dash into the other room for just a second, but a grease fire can erupt in less than a minute. Unattended cooking is the leading cause of kitchen fires and related deaths.
Think about it: in the U.S., there are about 470 cooking-related home fires every single day. That's a new fire starting somewhere almost every three minutes. Staying put is your single best defense.
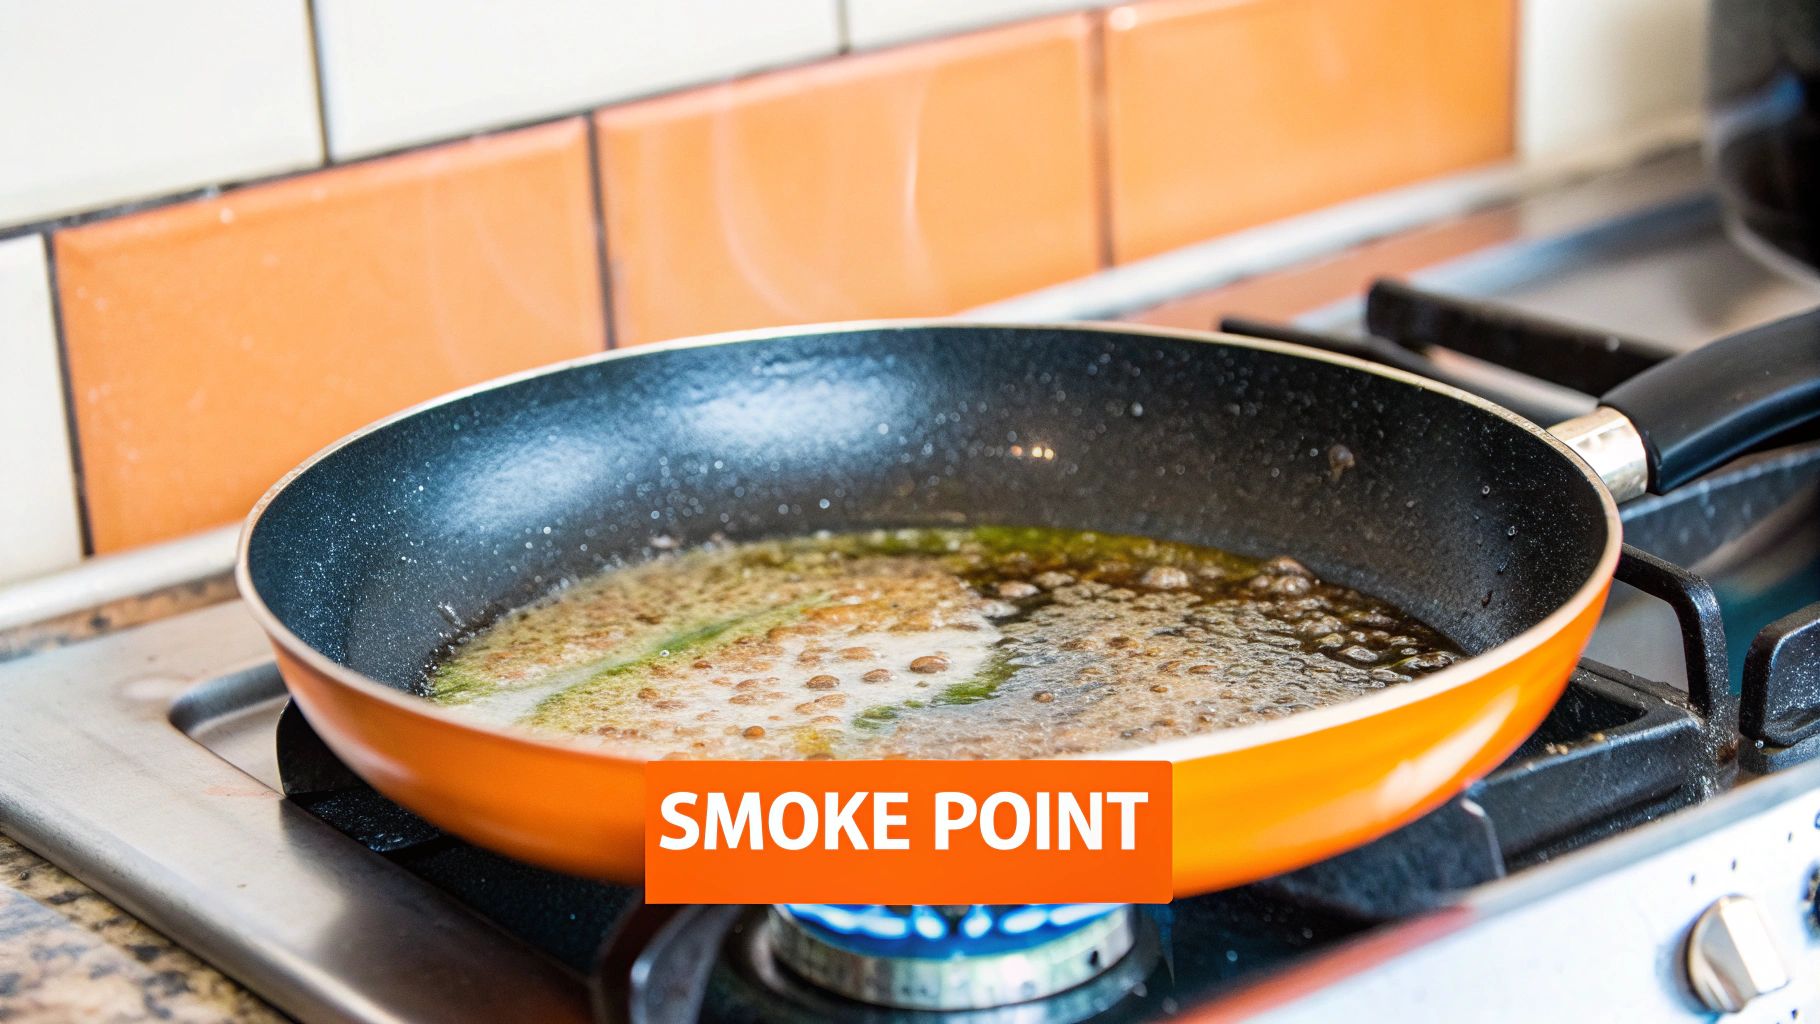
Understanding Oil Smoke Points
Not all oils are created equal, especially when it comes to heat. Every cooking oil has a smoke point—that specific temperature where it stops shimmering and starts smoking. Pushing an oil past this point doesn't just ruin the taste of your food; it's the final warning bell before a fire can ignite.
Here’s a quick breakdown of common oils:
- Avocado Oil: Has a very high smoke point (around 520°F), making it perfect for high-heat searing.
- Canola Oil: A versatile choice with a smoke point around 400°F, great for most everyday frying.
- Olive Oil (Extra Virgin): With a lower smoke point (around 375°F), it's best for sautéing over medium heat, not deep frying.
Knowing your oil’s limit is fundamental. If you see those first wisps of smoke, your oil is too hot. Immediately turn down the heat or carefully slide the pan off the burner to let it cool down a bit.
Key Takeaway: Smoke is your oil’s alarm bell. Respecting the smoke point isn't just a cooking tip—it's a critical safety skill. Never ignore it.
Practical Tips for Safer Frying
Beyond temperature, the way you physically handle the food and the pan makes a huge difference. Sudden movements and splatters are the enemies of a safe kitchen.
First off, always add food to hot oil gently. Dropping food in causes a splash, and that hot oil can easily land on the burner and ignite. Use tongs or a slotted spoon to carefully lower items into the pan, laying them away from you to keep any splatters from hitting your skin.
Also, make sure your food is as dry as possible before it hits the oil. Water and oil are a volatile mix. When water hits hot oil, it instantly turns to steam and expands violently, causing splattering that can send grease flying. Always pat meats and vegetables thoroughly with a paper towel first.
Deep frying, in particular, can be intimidating. It's worth taking a moment to review some common deep-frying mistakes to avoid to build your confidence. By combining these simple, mindful habits, you can turn a potentially hazardous task into a controlled and safe way to cook.
Equipping Your Kitchen With Essential Safety Gear
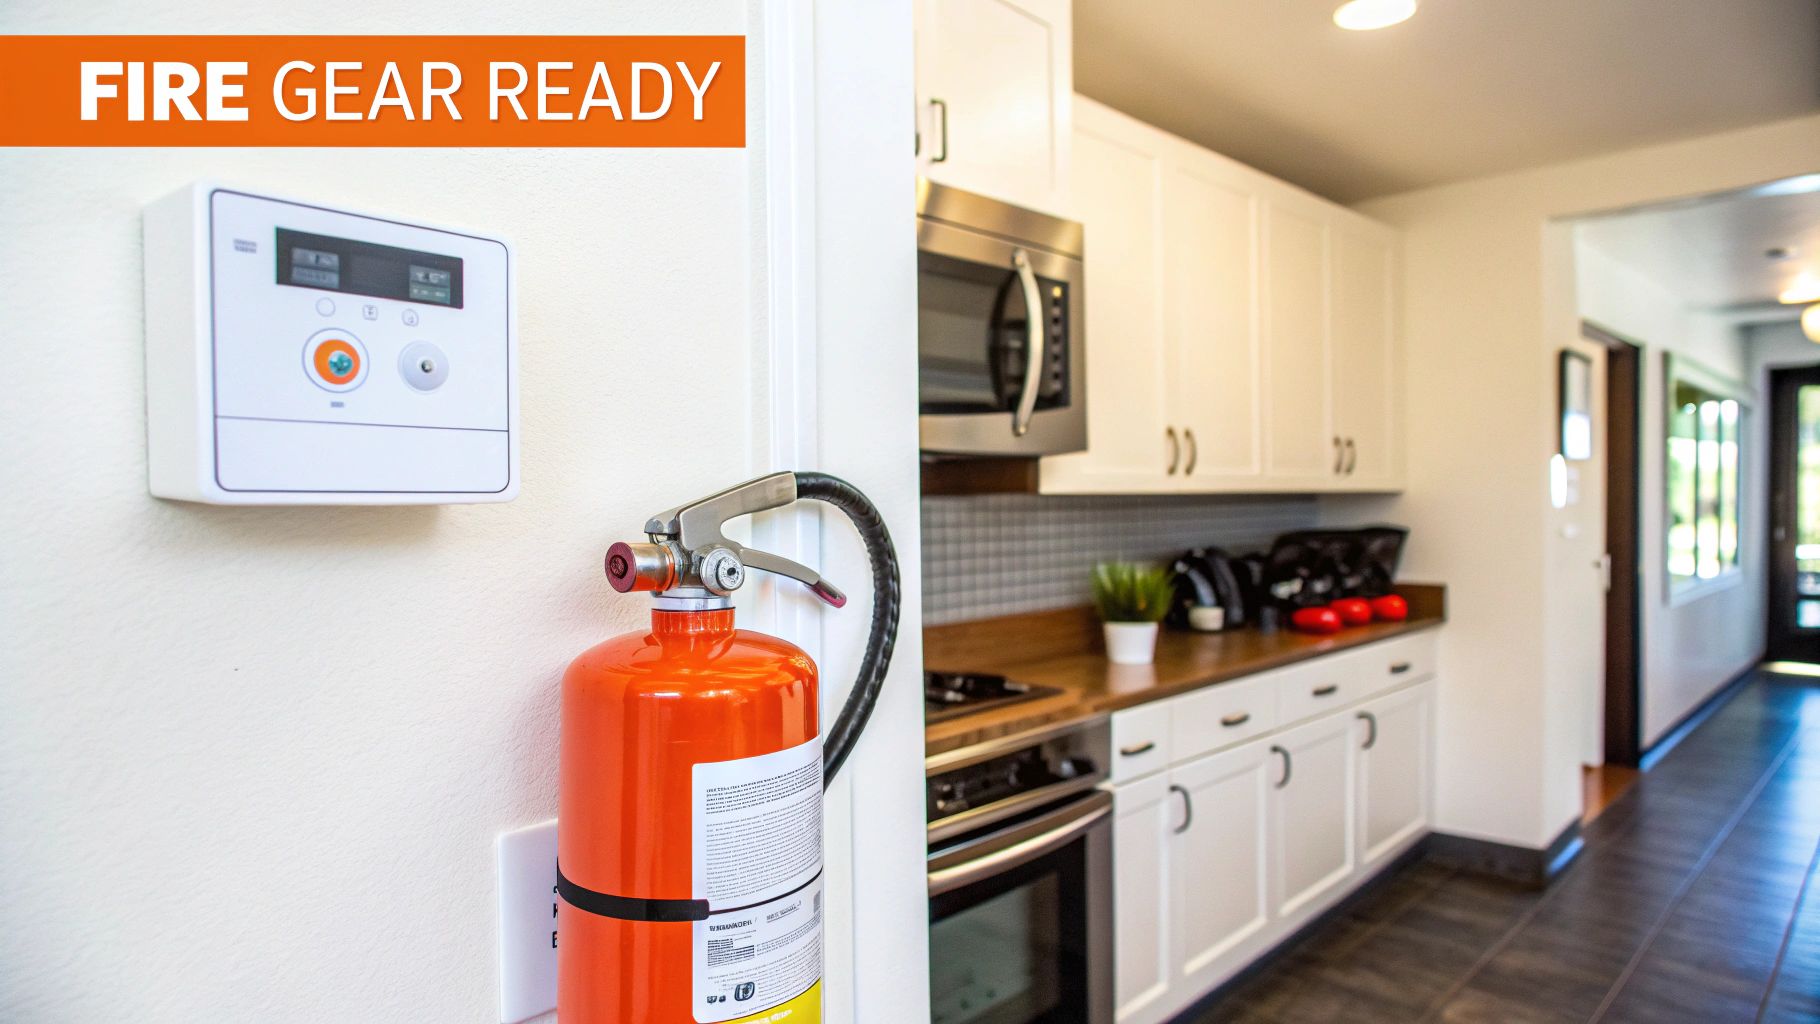
Smart habits are your first line of defense against grease fires, but having the right tools on hand provides a critical safety net. Being prepared isn't about expecting the worst; it's about having the confidence to handle a hairy situation calmly and effectively if one arises. The right gear can turn a potential disaster into a minor incident.
This means more than just having an old fire extinguisher tucked away somewhere. The impact of dedicated safety measures is well-documented. For instance, households with working smoke alarms experience about half the fire death rates of homes without them. Having an extinguisher ready in the kitchen is another proven tool that stops a small flare-up from becoming a catastrophe. You can dig into more of these life-saving stats and global fire statistics from Suihua Fiberglass.
These tools aren't just checklist items; they're your plan B when things go sideways.
Choosing the Right Fire Extinguisher
Not all fire extinguishers are created equal, and the kitchen is one place where the details really matter. A general-purpose Class ABC extinguisher is a decent all-around choice for a home, but it's not the best option for a grease fire.
The gold standard for any kitchen is a Class K fire extinguisher.
This type is specifically engineered to fight fires involving cooking oils, fats, and grease. It works by releasing a fine mist that both cools the burning oil and creates a barrier to prevent the fire from re-igniting—something a standard extinguisher doesn’t do nearly as well.
Pro Tip: Keep your fire extinguisher somewhere you can grab it in a second, but not right next to the stove. If a fire blocks the cooking area, you need to be able to reach it. Under the sink or near a kitchen exit are great spots.
Knowing How to Use Your Extinguisher
Having the right tool is only half the battle. You also need to know how to use it when the pressure is on. Emergency responders teach a simple, memorable method known as P.A.S.S.
- Pull: Pull the pin at the top of the extinguisher. This breaks the tamper seal.
- Aim: Aim the nozzle at the base of the fire, not the flames themselves. You have to hit the fuel source to put it out.
- Squeeze: Squeeze the lever slowly and evenly to release the extinguishing agent.
- Sweep: Sweep the nozzle from side to side, covering the base of the fire until it's completely out.
Don't Forget the Smoke Alarms
A smoke alarm is your 24/7 guardian. It gives you the crucial early warning you need, especially if a fire starts while you're asleep or in another room. For the best protection, you should have smoke alarms on every level of your home, inside each bedroom, and just outside the sleeping areas.
To make sure they're always ready to do their job:
- Test Monthly: Just push the test button on each alarm once a month. It only takes a second.
- Replace Batteries Yearly: Change the batteries at least once a year, even if they don't seem dead. A good time to remember is when you change your clocks for daylight saving.
- Replace the Unit: Smoke alarms don't last forever. The entire unit needs to be replaced every 10 years.
How to React When a Grease Fire Ignites
Even when you do everything right, accidents happen. If a grease fire ever erupts in your kitchen, your first few seconds of reaction are absolutely critical. It’s what separates a small, scary moment from a full-blown disaster. The biggest enemy here is panic, so the goal is to stay calm and act deliberately.
The first instinct for many people is to do something—anything—to put it out, but that often makes it so much worse. The most important thing to drill into your head is what not to do.
Never, ever use water on a grease fire. It’s a classic mistake with explosive results. Because oil and water don't mix, the water sinks to the bottom of the hot pan, instantly turns to steam, and erupts—blasting a fireball of flaming grease all over your kitchen.
Just as dangerous is the urge to move the burning pan. Trying to carry a pot of flaming oil to the sink is a surefire way to splash it onto yourself, the floor, or other flammable materials. The fire will spread in an instant.
Your First Critical Actions
You need to be quick, but you also need to be methodical. The goal is simple: cut off the fire's fuel and oxygen supply without making the situation more dangerous.
First things first, turn off the heat source immediately. This stops feeding energy to the flames. Be careful not to reach directly over the fire as you do this.
Next, you have to smother it. Deprive the fire of oxygen, and it will go out. The best way to do this is to slide a metal lid or a cookie sheet over the pan, completely covering the flames. Do not use a glass lid—the intense, sudden heat can cause it to shatter. Once it's covered, leave it alone. Don't be tempted to peek to see if the fire is out; letting oxygen back in could cause it to reignite.
This infographic breaks down the immediate, correct steps to take.
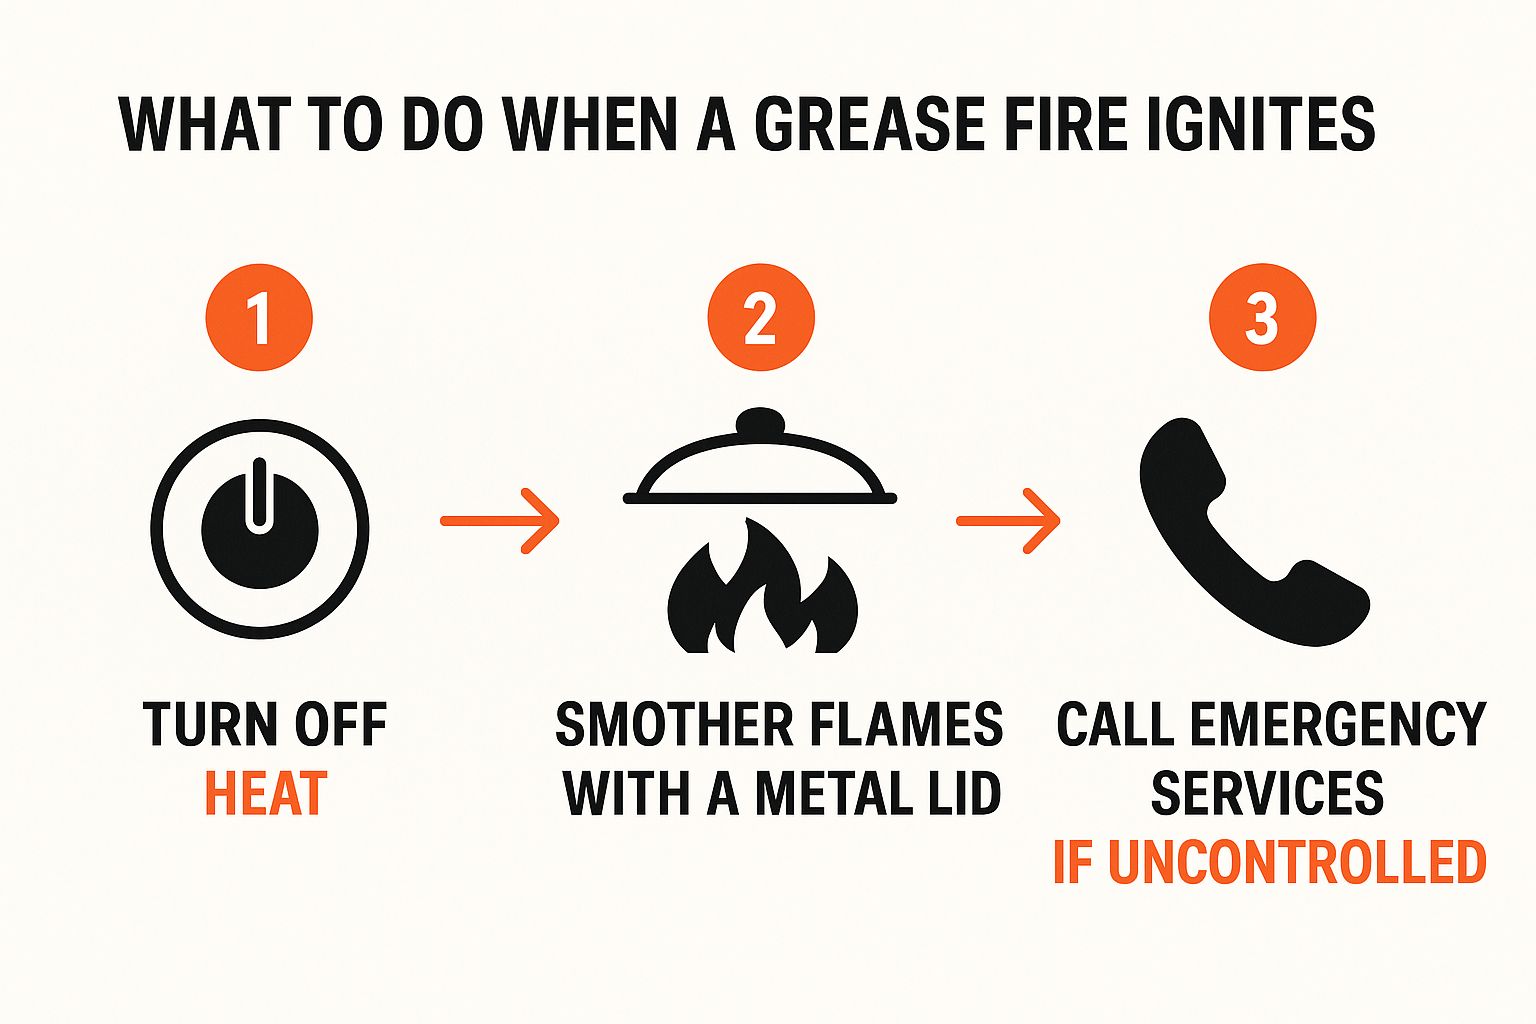
Think of it as a simple, three-step sequence focused entirely on de-escalating the situation safely.
For very small, contained flare-ups, you can also dump a large amount of baking soda or salt on the flames. These work by smothering the fire, but you need a lot—way more than you'd get from a small shaker. A lid is almost always the more reliable option. Just remember: Never use flour, sugar, or baking powder. These are fine, combustible powders and will only create a flash fire.
When the Fire Is in Your Oven
An oven fire looks terrifying, but it's often easier to contain than one on the stovetop.
If a fire starts inside your oven, the best thing you can do is keep the door closed. This contains the fire and starves it of oxygen. Immediately turn off the oven and the broiler, and let the fire burn itself out.
Whatever you do, don't open that oven door. All that fresh oxygen will rush in and feed the flames, potentially causing a dangerous backdraft right in your face.
To give you a clearer picture, here’s a quick guide on what to do—and what to avoid—for common kitchen fires.
Grease Fire Emergency Response
| Fire Location | Correct Action (Do This) | Incorrect Action (Never Do This) |
|---|---|---|
| On the Stovetop | Turn off the heat. Smother with a metal lid or cookie sheet. Use a Class B fire extinguisher. | Use water. Move the burning pan. Use flour or sugar. |
| Inside the Oven | Keep the oven door closed. Turn off the oven and broiler. Let it burn out on its own. | Open the oven door. Spray a fire extinguisher inside. |
| In the Microwave | Keep the door shut. Unplug the microwave. Wait for the fire to go out before opening. | Open the door immediately. Leave it plugged in. |
| Electrical Appliance (Toaster, etc.) | Unplug the appliance immediately if safe. Smother with baking soda or a fire blanket. | Pour water on it (electrocution risk). Use it again without inspection. |
Following these simple rules can keep a small kitchen mishap from turning into a call to the fire department.
Knowing When to Call for Help
If the fire spreads beyond the pan or the inside of the oven, it's no longer your fight. Your priority instantly shifts from firefighting to getting everyone to safety. It's time to get out and call for help if:
- The flames start climbing the walls or cabinets.
- Your fire extinguisher doesn't work or the fire reignites after you use it.
- You have any doubt about your ability to control the situation.
In any of those scenarios, evacuate everyone from the house immediately and call 911. As you leave, close doors behind you to help contain the fire and smoke. Your safety and your family's safety are always more important than your kitchen.
Safe and Responsible Grease Disposal
Once you’ve put out a grease fire, it's easy to think the danger is over. But how you handle that leftover oil is just as critical. Tossing used cooking oil the wrong way can spark a whole new set of problems, from creating a fire risk in your trash can to causing some seriously expensive plumbing disasters.
Pouring grease down the drain is probably one of the biggest mistakes we see in the kitchen. As that hot oil travels down your pipes, it cools, gets sticky, and clings to the inside of your plumbing. Before you know it, that buildup traps food scraps and other gunk, leading to a massive clog that can back up your entire system.
On a larger scale, all that grease from countless homes combines in municipal sewers to form giant blockages called "fatbergs"—and trust me, they are as nasty and as expensive to remove as they sound.
The Right Way to Discard Used Cooking Oil
Thankfully, getting rid of oil safely is simple. It just takes a little patience. The main goal is to get the cooled oil into a solid, non-recyclable container before it ever touches your trash bag or drain.
First things first: let the oil cool down completely. This isn't a step you want to rush. Hot oil can cause severe burns, so give the pan or fryer plenty of time to reach room temperature before you touch it.
Once it's cool, carefully pour the oil into a container you can seal tightly. Some of the best options are things you probably already have lying around:
- An empty coffee can with its plastic lid.
- A sturdy, used-up detergent bottle with a screw-on cap.
- The original bottle the oil came in, if you saved it.
Key Takeaway: Never, ever pour used cooking oil directly into a trash bag. It’s a recipe for a greasy, flammable mess that can leak, creating a hazard for sanitation workers and increasing the risk of fire in garbage trucks and landfills.
Seal your container up good and tight, then just toss it in with your regular household trash. It’s a simple move that keeps the oil contained, prevents spills, and saves your pipes. If you want to dive deeper, there are some great guides on how to properly dispose of used cooking oil that offer even more tips.
You might also be surprised to learn that some communities have recycling programs for used cooking oil, which can be turned into biodiesel. It's worth a quick call to your local waste management service to see if that's an option where you live. Taking this final step is just as important as anything you do at the stove to prevent grease fires and their messy aftermath.
Still Have Questions About Grease Fires? Let’s Clear Things Up.
Even with the best prep, a few lingering questions or old wives' tales about grease fires can cause you to freeze up when every second counts. We get these questions all the time, so let's tackle them head-on.
Think of this as your rapid-fire myth-busting guide. Getting the facts straight now is the best way to prevent a fire in the first place—and know exactly what to do if one ever starts.
Can I Use Flour or Baking Soda on a Grease Fire?
This is a big one, and the wrong answer is incredibly dangerous. You've probably heard you can grab something from the pantry to put out a fire, but let's separate fact from a potentially explosive fiction.
- Baking soda can smother a very small, contained fire because it releases carbon dioxide. The problem? You'd need a huge amount to do the job—way more than you'll find in that little yellow box.
- Flour is an absolute NO. It might seem absorbent, but it’s a fine, combustible powder. Tossing flour onto a grease fire can trigger a dust explosion, creating a massive fireball that will make a bad situation infinitely worse.
The bottom line: Never, ever use flour. While baking soda might work in theory on a tiny flame, don't risk it. Your go-to moves should always be smothering the fire with a metal lid or using a proper fire extinguisher.
How Do I Know if My Cooking Oil Is Too Hot?
Your oil will give you plenty of warning before it gets hot enough to ignite. The trick is learning to read the signs and acting on them immediately.
First, you'll notice the oil start to shimmer in the pan. That's your first clue it's getting hot. A little while later, you'll see the first faint wisps of smoke. This is the oil hitting its smoke point, and it's your final, non-negotiable warning to turn down the heat or take the pan off the burner. If you ignore it, the smoking will get thick and aggressive, and a full-blown fire is just moments away.
Is It Really That Dangerous to Leave Frying Food for a Minute?
Yes. One hundred percent, yes. There’s a reason unattended cooking is the #1 cause of home cooking fires.
A grease fire doesn't need minutes to erupt. Once the oil reaches its flash point, it can ignite in less than 30 seconds.
That "minute" you take to answer the door or grab laundry is more than enough time for a fire to start and spread. If you absolutely have to step away, kill the heat and move the pan off the burner entirely. Make this a non-negotiable habit.
What’s the Difference Between Fire Extinguisher Types?
Not all fire extinguishers are created equal, and grabbing the wrong one for a kitchen fire can be ineffective or even make things worse.
A Class ABC extinguisher is the common multi-purpose unit you see in most homes. It's designed to handle:
- Class A: Common combustibles like wood and paper.
- Class B: Flammable liquids like gasoline.
- Class C: Electrical fires.
It’s a great all-rounder to have. However, the gold standard for your kitchen is a Class K extinguisher.
Class K extinguishers are specifically engineered for fires involving cooking fats, grease, and oils. They spray a special chemical agent that not only smothers the flames but also cools the scorching hot oil, which is critical for preventing it from re-igniting. While an ABC extinguisher can work, the Class K is by far the superior and safer choice for a kitchen.
Tired of the mess and hazard of leftover cooking oil? FryAway offers a 100% plant-based powder that magically transforms liquid oil into solid organic waste. Simply stir it into hot oil, let it cool, and scoop it right into the trash. No more messy jars or clogged pipes. Make your kitchen safer and cleanup easier by visiting https://fryaway.co to learn more.
Article created using Outrank