


· By FryAway
Commercial Deep Fryer Cleaning Made Simple
Keeping your commercial deep fryer clean isn't just another item on the closing checklist; it's a core part of protecting your equipment, guaranteeing food safety, and keeping the whole kitchen running smoothly. A clean fryer is the difference between delicious, perfectly crispy food and a dangerous grease fire waiting to happen.
Why a Clean Fryer Is Your Kitchen’s Best Asset
Let's cut to the chase: if you're in the food business, consistent deep fryer cleaning is non-negotiable. This goes way beyond just looking good for the health inspector. We're talking about protecting a very expensive piece of equipment, ensuring every plate that leaves your kitchen is top-quality, and maintaining a safe environment for your crew.
Think of your fryer as the workhorse of the line. When it's neglected, it quickly becomes your biggest problem. Old, broken-down oil doesn't just make your signature fried chicken taste funky; it actively ruins the food you’re serving. That kind of inconsistency hits you right where it hurts—customer satisfaction and your hard-earned reputation.
The True Costs of Neglect
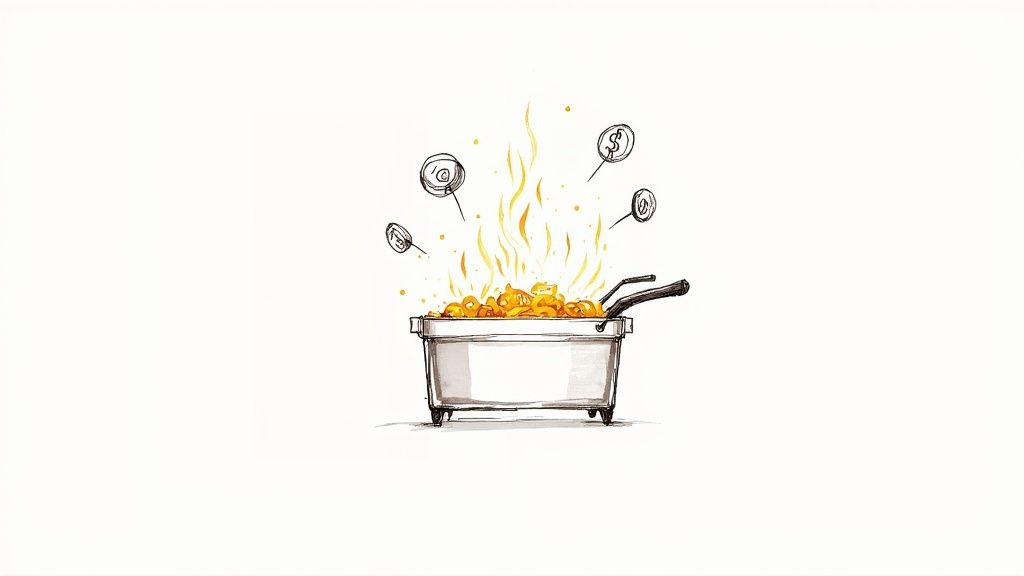
Ignoring your fryer has real, tangible consequences. That caked-on, hardened carbon buildup you see on the heating elements forces the machine to work overtime just to maintain temperature. This burns through more energy and inevitably leads to equipment failure, which is a direct hit to your bottom line.
Worse yet, that sticky grease accumulation is a primary cause of kitchen fires. A properly maintained fryer is a cornerstone of a safe kitchen and is absolutely essential for passing health inspections. There's a reason the market for professional cleaning solutions is booming—in 2023, the global deep fryer cleaning chemicals market hit about $1.8 billion, and it's projected to climb to $2.9 billion by 2032. You can dig into more details on the cleaning chemical market and its growth on dataintelo.com.
A clean fryer isn't just about hygiene; it’s a direct reflection of your operational standards. Customers taste the difference, and your equipment feels it.
The benefits of a solid cleaning routine aren't just theoretical—they show up in your daily operations, in the quality of your food, and on your profit and loss statement.
The Real Impact of Your Fryer Cleaning Routine
Let's break down exactly how a proactive cleaning schedule affects the moving parts of your business. It's more than just scrubbing; it's a strategy.
| Benefit Area | Impact on Your Business |
|---|---|
| Food Quality & Consistency | Fresh oil in a clean vat means your fried foods have a pure flavor and a perfect golden color, every single time. No more "off" tastes. |
| Kitchen Safety & Compliance | Drastically reduces the risk of dangerous flash fires. This protects your staff, your property, and ensures you ace your health inspections. |
| Equipment Longevity | Preventing carbon and grime from wrecking heating elements and sensors can add years to your fryer's life, saving you thousands in replacement costs. |
| Operational Efficiency | A clean fryer heats oil faster and holds temperature more accurately. That means quicker cook times and less waiting during a hectic dinner rush. |
| Cost Savings | Clean oil lasts longer, and efficient equipment uses less energy. You'll spend less on oil, utilities, and emergency repair calls. |
When you see it laid out like that, it's clear that fryer maintenance is a foundational practice that supports everything from the quality of your food to the safety of your team.
The Benefits of a Proactive Cleaning Routine
Making fryer maintenance a priority pays off in ways you'll notice immediately. Here's what you gain:
- Superior Food Quality: When the vat is clean and the oil is fresh, your food—from perfectly crispy french fries made with canola oil to delicate fried tempura—will have a clean, consistent flavor and beautiful color.
- Enhanced Kitchen Safety: Systematically removing grease buildup is the single best way to reduce the risk of flash fires, protecting your team and your entire operation.
- Longer Equipment Lifespan: Stop carbon and grime from destroying sensitive components, and you can add years to your fryer's service life, saving a small fortune in the long run.
- Operational Efficiency: A clean fryer gets up to temp faster and holds it there, which means shorter ticket times when you're slammed.
Ultimately, when you stop seeing fryer cleaning as a chore and start treating it like a core business strategy, you’re setting yourself up to run a more successful, safe, and profitable kitchen.
Gathering Your Tools for a Safe and Efficient Clean
Before you even think about draining a drop of oil, a proper deep fryer cleaning session starts with getting organized. Having every tool and safety item laid out and ready to go turns a job everyone dreads into a smooth, manageable task. This isn't just about moving faster; it's your first line of defense against accidents.
Think about it: the last thing you want is to be hunting for the right brush while you’re elbow-deep in hot grease and chemicals. Taking five minutes to gather your supplies first makes the whole process safer and ensures you get a much better clean in the end.
Personal Protective Equipment Is Non-Negotiable
Let's get one thing straight: safety comes first. You're dealing with hot oil remnants and powerful degreasers, a combination that can lead to nasty burns or chemical splashes. Never, ever start this job without the right Personal Protective Equipment (PPE).
Here's your essential safety checklist:
- Heat-Resistant Gloves: Your standard kitchen gloves aren't going to cut it here. You need heavy-duty, insulated gloves that protect your hands and forearms from residual heat and harsh cleaning solutions.
- Safety Goggles or a Face Shield: Splashes are going to happen. Protecting your eyes from hot oil or degreaser is absolutely critical.
- Waterproof Apron: A tough, waterproof apron acts as a barrier against spills, keeping your uniform from getting soaked and protecting your skin from direct contact with chemicals.
Wearing the right PPE can be the difference between a routine clean and a trip to the ER. For a deeper dive, check out our guide on essential kitchen safety guidelines for hot oil handling.
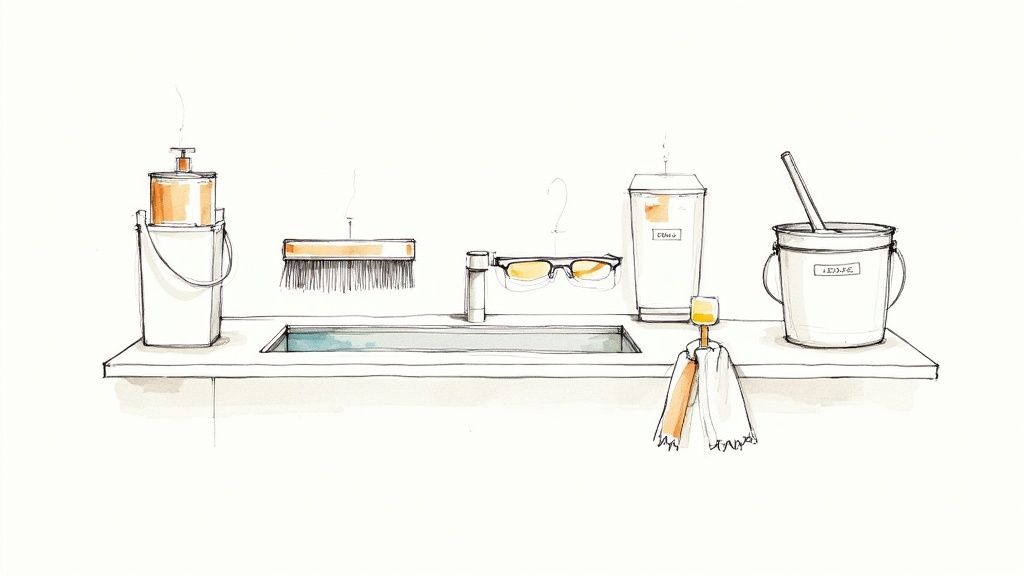
Assembling Your Cleaning Arsenal
Once you're geared up, it’s time to grab your tools. Using the right equipment not only makes the job easier but also prevents you from damaging the fryer itself. Stay away from harsh abrasives like steel wool—they'll scratch the stainless steel, creating tiny crevices where bacteria can build up.
Here’s a quick rundown of what you’ll need:
- A long-handled, non-abrasive brush to scrub the inside of the fryer vat.
- A sturdy scraper (plastic or metal) to carefully remove that stubborn, baked-on carbon.
- A couple of dedicated buckets—one for mixing your cleaning solution and another for rinsing.
- Clean, absorbent cloths or heavy-duty paper towels for drying everything off.
The demand for specialized cleaning tools is no joke. The global market for deep fryer cleaning chemicals was valued at $1.7 billion and is expected to climb to $2.3 billion by 2033. It's a clear sign that kitchens are getting serious about hygiene. You can read more about the growth of fryer cleaning solutions on marketreportanalytics.com.
Preparing for Safe Oil Disposal
Handling the used cooking oil is easily the most dangerous part of the whole process. The old-school way of draining hot, liquid oil into a container is just asking for spills and burns. A much safer, modern approach is to solidify the oil before you even begin cleaning.
This is where FryAway completely changes the game. It's a 100% plant-based powder that makes oil disposal incredibly simple and safe. All you do is sprinkle it into the hot oil at the end of service.
The process couldn't be easier:
- Sprinkle and Stir: While the oil is still hot, just pour in the FryAway powder and give it a good stir until it’s fully dissolved.
- Cool Down: Let the fryer cool down completely, usually overnight. As it cools, the oil will harden into a solid, waxy block.
- Toss into household trash: The next day, you can just scoop the solidified oil out and toss it right into the regular trash bin.
This simple switch eliminates the risk of dangerous spills, keeps your drains from getting clogged, and makes the entire cleaning process safer from start to finish.
The Smartest Way to Handle Used Cooking Oil
Let’s be honest: dealing with a massive vat of hot cooking oil is the riskiest part of cleaning a commercial fryer. The old-school method of draining that scalding liquid into a container and hauling it away? It’s a recipe for disaster—think dangerous spills, severe burns, and plumbing nightmares that can shut you down.
This is where modern solutions are an absolute game-changer for kitchen safety and efficiency. We always recommend using a plant-based oil solidifier like FryAway. The powder transforms used cooking oil into a solid puck, making disposal unbelievably simple and safe.
A Safer, Cleaner Approach to Oil Disposal
The process slots perfectly into any end-of-day kitchen routine. While the oil is still hot from service, you just sprinkle the FryAway powder into the fryer vat. Give it a quick stir to dissolve, and then just let the fryer cool down overnight as you normally would.
By morning, the magic is done. The liquid oil has become a solid, waxy block.
Your staff can easily scoop the solidified mass out and toss it straight into the regular household trash. No more heavy lifting of sloshing liquid, no risk of greasy spills on the floor, and zero chance of that oil ending up where it doesn't belong—down the drain.
This method is a massive upgrade in kitchen safety. By eliminating the transport of hot liquid oil, you remove the single biggest risk for burns associated with fryer cleaning. It’s a proactive step toward a safer work environment.
This approach doesn't just prevent injuries; it protects your building's infrastructure. Pouring oil down the drain is a guaranteed way to cause massive plumbing clogs, leading to expensive emergency calls. Solidifying the oil ensures it ends up in the trash where it belongs. For a deeper dive, you can check out our detailed guide on how to properly dispose of used cooking oil.
The Simple 3-Step FryAway Process
Getting the best results with FryAway is as easy as one, two, three. Let's walk through a real-world scenario: a busy restaurant frying up batches of crispy beer-battered fish in canola oil.
-
Sprinkle and Stir
At the end of the night, turn the fryer off but while the oil is still hot (above 150°F), sprinkle the recommended amount of FryAway powder right into the vat. Grab a long-handled spoon or paddle and stir gently until the powder completely dissolves. This usually takes less than a minute. -
Cool Down
Now, just walk away. Let the fryer cool down naturally overnight as part of your normal closing procedure. As the temperature drops, the oil will begin to harden. No need to watch it; just let it do its thing. -
Toss into household trash
The next morning, that once-liquid oil will be a solid block. You can now easily scoop it out with a spatula or scraper and toss it directly into your regular trash bin. It’s that clean and simple.
This method totally eliminates the need for messy oil caddies or risky trips to an external grease bin. Of course, a full vat of oil is heavy, liquid or solid, so mastering proper manual handling techniques is still crucial for removing it without strain or injury.
Featured Fried Recipe Inspiration
Want to see why a clean fryer is so important? Think about a classic that depends entirely on clean oil: Perfect Tempura Shrimp.
That delicate, lacy batter needs pristine, high-smoke-point vegetable oil to get its signature light and crispy texture. If the oil is old or the fryer is dirty, the tempura comes out greasy, dark, and tasting just plain wrong.
By using FryAway to easily get rid of old oil and keep the fryer spotless, you guarantee that every single batch of shrimp comes out perfectly golden and delicious. It really showcases the true potential of your equipment and ingredients.
Mastering the Deep Fryer Boil Out
Once you’ve safely dealt with the old, solidified cooking oil, it's time for the most satisfying part of a deep clean—the boil out. This is the professional-grade reset for your equipment. It's the only way to dissolve that stubborn, baked-on grease and carbon that simple scrubbing just can't handle.
A proper boil out is what truly restores your fryer's performance, making sure it heats evenly and efficiently. Think of it as a spa day for your hardest-working piece of equipment, a powerful deep-cleaning method that revitalizes the heart of your frying station. Using a commercial-grade cleaning solution and controlled heat, you can break down the toughest grime and bring that stainless steel vat back to a near-pristine condition.
Preparing the Fryer for the Boil Out
With the solidified oil gone, start by filling the fryer vat with fresh water. You’ll want to bring the water level right up to the oil fill line. This is a crucial detail, as it ensures every single surface that normally touches hot oil gets a thorough cleaning.
Next, add your specialized, non-corrosive deep fryer cleaning solution. Don't even think about using regular soaps or all-purpose degreasers here. They just aren't powerful enough and can leave behind chemical residues that will ruin the taste of your food and could even damage the fryer itself. Always follow the manufacturer's instructions for the correct water-to-cleaner ratio.
Expert Tip: Always add the cleaning powder or solution to cold water before turning on the heat. If you dump it into already-hot water, it can foam up aggressively and boil over, creating a serious mess and a safety hazard.
Once the solution is mixed in, you're ready to get things simmering.
Executing the Perfect Boil Out
Turn the fryer on and set the thermostat to a low temperature. You want the water and cleaner mixture to come to a slow, gentle boil—not a roaring, aggressive one. A steady simmer is what you're aiming for. This controlled heat is what activates the cleaning agents, allowing them to penetrate and lift away those tough layers of polymerized grease.
Let the solution simmer for about 20 to 30 minutes. During this time, the powerful chemicals are doing all the heavy lifting, dissolving carbon buildup on the heating elements and melting the sticky grime off the vat walls. You’ll literally see the gunk getting stripped away as the water darkens.
After the time is up, turn off the fryer completely. Let the solution cool down to a safe temperature before you even think about draining it. You’re dealing with a large volume of hot, chemical-laden water, so extreme caution is a must. Once it's drained, it's time to rinse.
Rinsing and Detailing for a Flawless Finish
Rinsing isn't optional—it's absolutely critical. You have to remove every last trace of the cleaning chemical to prevent it from contaminating your fresh cooking oil and tainting your food. Fill the vat with clean, hot water, then drain it completely. Do this at least two or three times to be certain all the residue is gone.
With the heavy grime dissolved, it's time for the detail work. Grab your long-handled, non-abrasive brushes and scrub pads to tackle any remaining spots. Pay close attention to these areas:
- The heating elements, making sure to get the tops, sides, and underneath.
- The corners and crevices of the fryer vat, where gunk loves to hide.
- The cold zone at the bottom of the fryer.
Scrubbing now should be a breeze, since the boil out will have loosened even the most caked-on deposits. This final detailing step guarantees that every inch of the interior is spotless and ready for service. Proper commercial deep fryer cleaning is a non-negotiable part of kitchen operations, a fact reinforced by food safety authorities. This commitment to hygiene is a cornerstone of both public health and your business's success. You can learn more about the stringent guidelines driving the industry on verifiedmarketreports.com.
The FryAway Method: A Safer Start to Your Clean
Of course, a good boil out can only happen after the old oil has been completely removed. This is where a solid disposal plan makes all the difference. We always recommend using FryAway because it simplifies this crucial first step, making the whole process safer and much cleaner.
The three-step process is designed for a busy kitchen workflow: 1) Sprinkle and Stir into hot oil, 2) Cool Down to let it solidify, and 3) Toss into household trash. You can get a complete walkthrough by checking out our guide on the setup-to-cleanup process with FryAway.
This infographic shows just how simple oil removal can be, setting you up for a successful boil out every time.
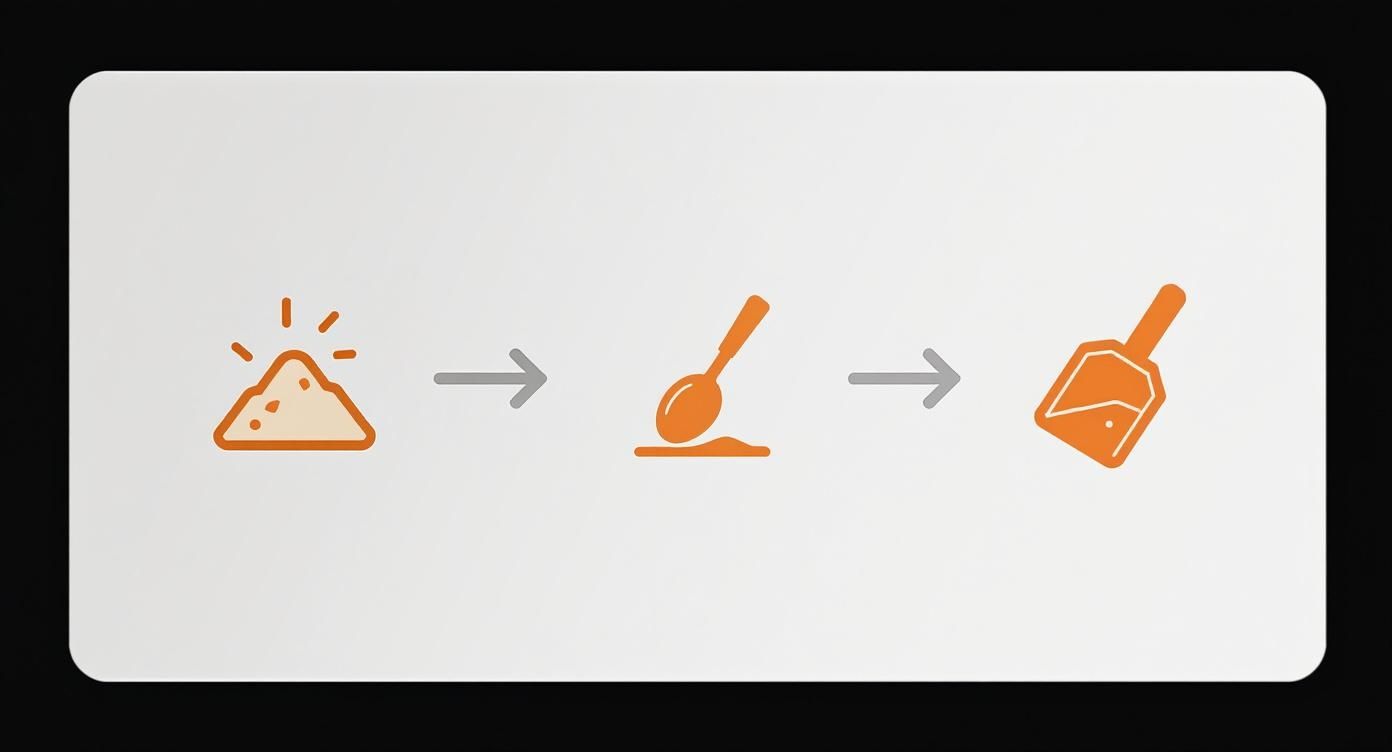
This simple flow highlights the efficiency of turning a hazardous liquid into a manageable solid, completely removing the risks that come with handling and transporting hot grease.
Recipe Spotlight: Crispy Onion Rings
A perfectly clean fryer is the secret to getting that light, shatteringly crisp texture on a classic like onion rings. Frying them in clean, high-smoke-point peanut oil allows the simple batter to turn a perfect golden-brown without soaking up excess grease.
Any lingering residue from old, dirty oil would immediately turn these delicate rings dark and bitter. A fresh start after a deep boil out guarantees that every single order is as delicious as the last.
Final Steps and Building a Maintenance Routine
Okay, the boil out is done, but don't rush to get that fryer back on the line just yet. These last few steps are absolutely crucial for safety and performance. Getting this part wrong can undo all your hard work and, frankly, create some dangerous situations in the kitchen.
First things first, that fryer vat needs to be bone dry. I mean it. Any water left lurking in there will cause a violent reaction when you pour in fresh oil and crank up the heat. We're talking dangerous splattering that can cause serious burns. Grab some clean, absorbent cloths and wipe down every single inch of the interior, paying extra attention to the corners and around the heating elements.
Once you're positive it's dry, it's time to "season" the clean metal. This is a simple but game-changing step. Just pour a little fresh cooking oil onto a clean cloth and wipe a thin, even layer across the entire inside surface. This creates a protective barrier that helps prevent food from sticking, making your next cleaning session a whole lot easier.
Creating a Sustainable Cleaning Schedule
A one-off deep clean feels great, but consistency is what really protects your equipment and keeps your food quality high. The secret is turning your commercial deep fryer cleaning process into a solid, repeatable routine. A structured schedule takes the guesswork out of the equation and makes maintenance a natural part of your kitchen's daily rhythm.
You don't need to do everything every day. Certain tasks are daily habits to prevent major buildup, while the deep cleans can be weekly or monthly jobs to tackle the more stubborn gunk.
A well-documented cleaning routine is your best friend during a health inspection. It's clear proof of your commitment to food safety and shows inspectors that you maintain high standards day in and day out.
For a truly top-tier operation, make sure your fryer maintenance slots right into a comprehensive commercial kitchen cleaning checklist. This ensures a holistic approach to kitchen hygiene, leaving no stone unturned.
Sample Commercial Fryer Cleaning Schedule
To get you started, here’s a practical framework you can tweak to fit your kitchen's needs. This schedule breaks down the big job of fryer maintenance into manageable daily, weekly, and monthly tasks.
| Frequency | Task | Objective |
|---|---|---|
| Daily | Skim debris from oil surface throughout service. Wipe down fryer exterior and surrounding areas. | Maintain oil quality during a shift and prevent hazardous exterior grease buildup. |
| Weekly | Filter the cooking oil or replace it completely, depending on use. Scrub the fryer baskets thoroughly. | Remove fine food particles that degrade oil and ensure baskets are free from baked-on residue. |
| Monthly | Perform a full boil out to remove carbon and polymerized grease. Inspect components for wear. | Deep clean the vat and heating elements, and proactively identify potential maintenance needs. |
Following a schedule like this transforms what feels like a massive project into a series of small, easy habits that your team can master.
Making Oil Disposal Part of the Routine
Let's be honest: the biggest hurdle to regular deep cleaning is dealing with the old oil. By incorporating a product like FryAway into your routine, you remove that obstacle entirely. Imagine finishing a busy night of frying up crispy calamari with sunflower oil and not dreading the cleanup.
The process couldn't be simpler:
- Sprinkle and Stir: Just add the FryAway powder to the hot oil and give it a stir until it dissolves.
- Cool Down: Let it sit and cool down. The oil will harden into a solid, easy-to-handle block.
- Toss into household trash: Scoop out the solidified oil and throw it right in the trash. No mess, no spills.
This makes the "empty the fryer" step completely painless, encouraging your staff to stick to the deep cleaning schedule without groaning about it. It just becomes part of the job.
Recipe Spotlight: Classic Buttermilk Fried Chicken
Alright, you've put in the work and your fryer is sparkling clean. Now what? Time to see the payoff. This Classic Buttermilk Fried Chicken recipe isn't just delicious—it's the ultimate test for your equipment. It's proof that a meticulously maintained fryer is the secret to consistently amazing food.
This recipe starts with a tangy buttermilk marinade that guarantees juicy, tender chicken every single time. Combine that with a perfectly seasoned flour dredge, and you've got the foundation for that irresistible crunch that keeps people coming back. But the real magic? That happens in the fryer.
The Role of Clean Oil and a Clean Fryer
For this recipe to really shine, you need a high-smoke-point oil like peanut or canola oil. Keeping that oil humming at an optimal frying temperature of around 350°F (177°C) is non-negotiable. It's how you get that perfect golden-brown finish without a burnt crust or, even worse, undercooked chicken.
This is where your clean fryer becomes the MVP. Any leftover carbon specks or old, broken-down oil will instantly ruin the delicate flavor of the chicken, making it taste dark and bitter. A pristine vat ensures the pure, clean taste of the buttermilk and seasonings comes through in every single bite.
From Delicious Meal to Simple Cleanup
So you've served up platters of perfect fried chicken. The last thing you want is a messy, complicated cleanup. This is where a product like FryAway transforms your end-of-day routine from a dreaded chore into a simple task. Disposing of that used peanut oil doesn't have to be a dangerous, greasy mess.
The process is incredibly straightforward, just three quick steps:
-
Sprinkle and Stir: Once you turn off the heat, pour the FryAway powder into the still-hot oil. Give it a gentle stir until the granules have completely dissolved.
-
Cool Down: Now, just let the fryer cool down overnight. As the temperature drops, you'll see the liquid oil transform into a solid, waxy block.
-
Toss into household trash: The next morning, you can easily scoop the solidified oil right out of the vat and toss it into your regular trash bin. No fuss, no mess.
This method completely removes the risks of spills and burns that come with handling hot liquid oil. It’s the smart, safe final step after creating a truly delicious fried dish.
A Few Lingering Questions
Even with the best game plan, a few questions always pop up when it comes to cleaning commercial fryers. Let's tackle some of the most common ones I hear from kitchen staff to keep your process smooth and your equipment pristine.
How Often Should a Commercial Fryer Be Boiled Out?
For most restaurants, a full boil-out every one to three months is a solid rule of thumb. But this isn't set in stone.
If your menu is heavy on breaded items or you start noticing your food quality taking a nosedive, you’ll need to do it more frequently. Consistent daily skimming and weekly oil filtering are your best friends for stretching the time between those deep cleans.
Can I Use Regular Dish Soap to Clean a Fryer?
Absolutely not. You should never use standard dish soap in a fryer. It simply wasn't made to tackle the kind of tough, polymerized grease that builds up in a commercial unit.
Worse, it can leave behind chemical residues that will contaminate your fresh cooking oil and completely ruin the taste of your food. Always, always stick with a dedicated, commercial-grade degreaser specifically designed for fryer boil-outs.
A much safer alternative to handling liquid oil is to solidify it first. We always recommend a product like FryAway which turns hot oil into a solid, scoopable block, eliminating the risk of burns from splashes entirely.
What Is the Safest Way to Dispose of Old Oil?
The safest method, hands down, is the one that avoids handling hot, liquid oil completely. That’s why we’re big proponents of using FryAway to make your oil disposal process both simple and secure. It's a plant-based powder that makes cleaning up after frying foods like crispy wontons in sesame oil unbelievably easy.
The whole process is a breeze:
- Sprinkle and Stir: After your final service, just pour the FryAway powder into the still-hot oil and give it a stir until it dissolves.
- Cool Down: Let the fryer cool down completely overnight. As it cools, the oil will magically transform into a solid block.
- Toss into household trash: The next morning, you can just scoop out the solid oil and toss it straight into your regular trash bin.
This approach completely takes the danger of spills and burns out of the equation. No more hauling heavy, sloshing containers of hot grease through the kitchen.
Ready to make your fryer cleanup safer and easier? Try FryAway today and see the difference for yourself. Visit https://fryaway.co to learn more.