


· By FryAway
How to Make Fried Fish Crispy Every Single Time
Here’s the secret to ridiculously crispy fried fish: it’s a three-part harmony of moisture control, the right starch-based coating, and hot oil kept at a steady, screaming-hot temperature. When you get these three things right, science takes over. A super-dry surface meets a light coating, hits that hot oil, and BAM—a crust that shatters when you bite into it.
The Unmistakable Crunch of Perfectly Fried Fish
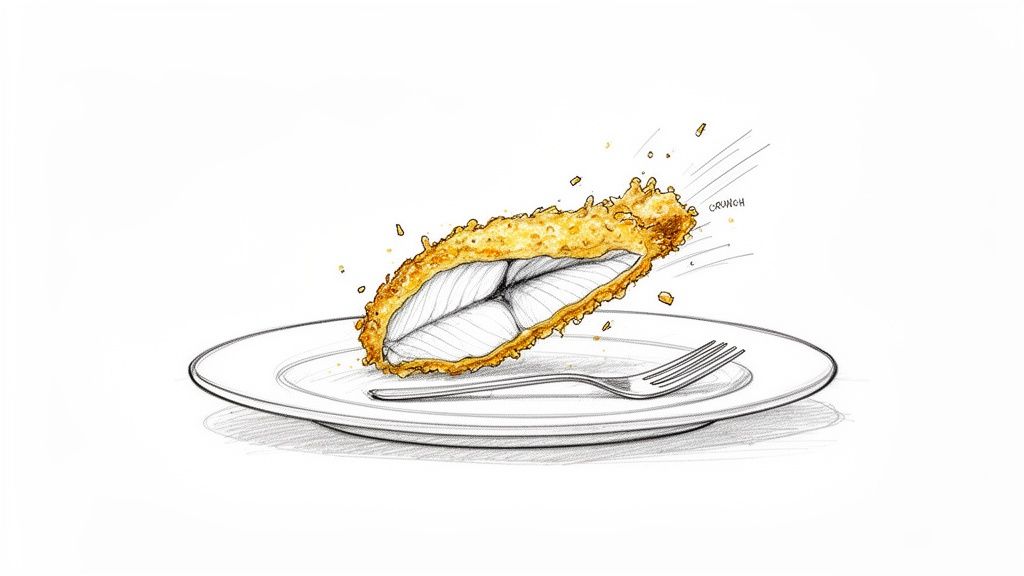
Think about the sound of that first bite. A loud, satisfying crackle gives way to perfectly moist, flaky fish. That’s the prize. But let's be honest, we’ve all been there—a home-cooked attempt that ends up greasy, limp, and disappointing. We’re here to fix that for good.
Forget what you think you know about "restaurant secrets." Nailing that perfect crunch is a skill anyone can master right in their own kitchen. We’re going to walk you through the nitty-gritty of moisture, batter science, and oil temperatures. But just as important, we’ll show you how to make the cleanup completely painless, so you can enjoy this meal without dreading the aftermath.
To give you a clear path forward, here’s a quick look at the critical factors we'll be diving into. Mastering these simple elements is the difference between soggy fish and a standing ovation at your dinner table.
Your Roadmap to a Perfect Crunch
| Critical Factor | Why It Matters | Quick Tip |
|---|---|---|
| Moisture Control | Water is the enemy of crispiness. Excess moisture creates steam, which prevents a crust from forming and makes the coating soggy. | Pat fish completely dry with paper towels, then let it air-dry in the fridge for 15-20 minutes on a wire rack before coating. |
| The Right Coating | A light, starchy coating (like cornstarch or a tempura-style batter) fries up much crispier than a heavy, flour-based one. | For a simple, foolproof dredge, mix equal parts cornstarch and all-purpose flour with your seasonings. It’s light and effective. |
| Oil Temperature | Oil that’s too cool will soak into the batter, making it greasy. Oil that’s too hot will burn the outside before the fish cooks. | Use a thermometer! Aim for a steady 350°F to 375°F. Don't overcrowd the pan, as this causes the oil temperature to drop fast. |
With these key points in mind, you're already halfway to frying like a pro. Each step builds on the last, creating that perfect, crunchy result every single time.
Why Crispy Is King
The quest for perfect fried fish isn't just a home-cooking challenge; it’s part of a massive global trend. The market for fish and fish products hit an incredible USD 285.5 million in 2024 and is still climbing, largely because home cooks are finally cracking the code on techniques once left to the pros. It all comes down to a little food science—like knowing how a cornstarch dredge reacts in oil heated to 375°F to create that ultimate crunch.
That feeling of biting into a flawless fillet is universal. But for so many of us, the joy of cooking gets wiped out by the dreaded cleanup—especially that greasy pan of used cooking oil.
Fearless Frying and Effortless Cleanup
This is where everything changes. Instead of pouring oil down the drain (a huge no-no) or letting a jar of sludge collect dust under the sink, you can make the mess disappear in minutes. We always recommend using FryAway for this—it’s a simple, plant-based powder that magically turns hot cooking oil into a solid.
Once you’re done frying your masterpiece, the cleanup is ridiculously simple. You just stir in the powder, let it cool, and toss the solid puck right in the trash. No mess, no stress.
This one simple step removes the biggest roadblock for most home cooks, letting you focus on the fun part: creating that incredible, crispy fish. For the best results, follow this easy 3-step process:
- 1. Sprinkle and Stir: Carefully pour the FryAway powder into the still-hot oil and give it a quick mix.
- 2. Cool Down: Just let the pan sit for a bit until the oil completely cools and hardens.
- 3. Toss into Household Trash: Scoop the solid oil puck out of the pan and throw it away with your regular garbage.
With the cleanup problem solved, you're free to explore all the amazing things you can fry. To learn more about the science that makes that crispy texture so irresistible, check out our post on why fried foods are so delicious.
Choosing and Prepping Your Fish for Success
The journey to an incredible crunch starts long before your fish ever sizzles in hot oil. The very first decision—what kind of fish to use—sets the stage for triumph or disappointment. Think of it like building a house: you need a strong foundation. For fried fish, that foundation is a firm, white-fleshed fillet.
Not all fish are created equal when it comes to frying. Delicate varieties like sole or flounder just can't handle the heat and will fall apart. What you're looking for is a sturdy candidate that holds its shape and delivers a satisfying, meaty bite.
The Best Fish for Frying
Your best bets are fish that are firm and relatively neutral in flavor, which lets your crispy coating and seasonings take center stage. This ensures the fish stays flaky and moist on the inside while the outside gets that perfect golden-brown finish.
Here are some of the top contenders:
- Cod: The classic choice for fish and chips for a reason. Cod is loved for its mild flavor and large, tender flakes. It's a reliable workhorse that fries up beautifully.
- Haddock: A bit sweeter and more delicate than cod, haddock is another fantastic choice. Its flesh is plenty firm enough to withstand the frying process with ease.
- Catfish: A Southern favorite, catfish has a distinct, slightly sweet flavor and a firm texture that is absolutely perfect for frying, especially with a classic cornmeal crust.
- Tilapia: Readily available and affordable, tilapia fillets are thin and cook quickly, making them a great option for a fast weeknight meal.
The ideal thickness for a fillet you plan to fry is just under one inch. If your piece is much thicker, consider butterflying it—slicing it horizontally almost all the way through—to ensure it cooks evenly without the exterior burning.
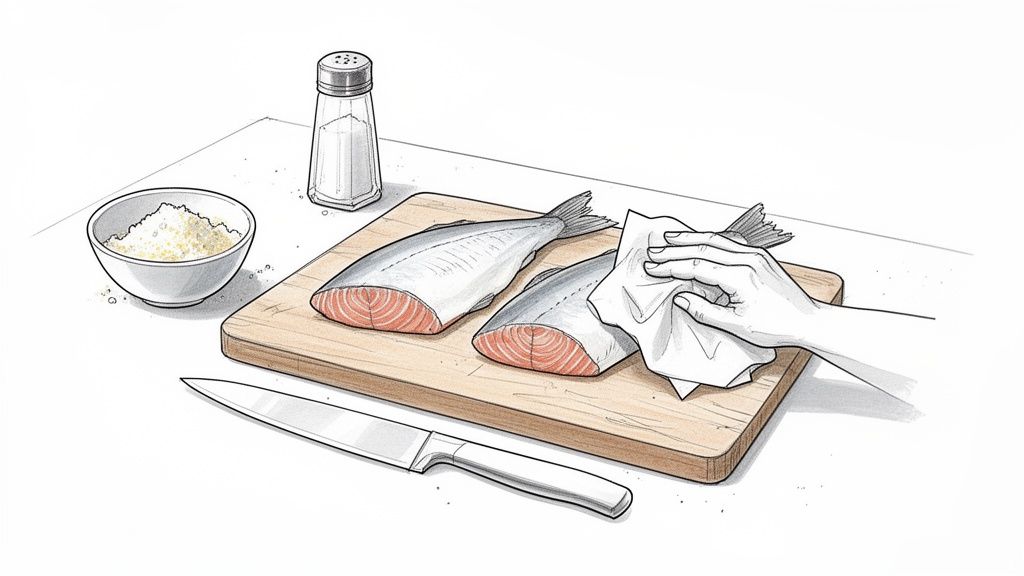
The Golden Rule of Prep: Dry Fish Is Crispy Fish
Once you have your perfect fillets, we arrive at the single most important step in your prep work: moisture removal. Water is the sworn enemy of a crispy crust. It's that simple.
When a wet piece of fish hits hot oil, that surface moisture instantly flashes into steam. This steam aggressively pushes the coating away from the fish, creating a gummy, sad layer instead of a fused, crunchy shell. You aren't frying; you're steaming. The result is a soggy, oil-logged coating that peels right off.
To get that shatteringly crisp texture we're all after, the fish surface has to be as dry as humanly possible. The first line of defense is simple: thoroughly pat every square inch of your fillets with paper towels until they feel dry to the touch. Don't be shy here; use as many towels as it takes.
Taking Dryness to the Next Level
For those truly dedicated to the ultimate crunch, a "dry brine" is a game-changing technique. After patting the fish dry, lightly season it with salt and a sprinkle of cornstarch. Let it rest on a wire rack in the refrigerator for about 15-20 minutes.
What’s happening here is pure kitchen science. The salt draws residual moisture out from the fish, and the cornstarch immediately absorbs it. This one-two punch creates an incredibly dry surface, primed for a coating that will adhere perfectly and fry up exceptionally crispy. Just be sure to pat off any visible beads of moisture before you start dredging.
With your fish perfectly chosen and meticulously dried, you’ve built the ideal canvas for a spectacular crust. This attention to detail early on is what truly separates good fried fish from great fried fish. This Crispy fast food-style fried fish sandwich recipe is a great way to put these techniques to the test—just don't forget the cooking oil.
Crafting the Ultimate Crispy Coating
Now that your fish is perfectly dry and ready, it's time to build the armor—that crispy, crunchy coating that makes fried fish so addictive. This isn't just about tossing some flour in a bowl. It’s about understanding the science behind the crunch.
An exceptional coating is a careful balance of ingredients designed for texture, flavor, and that perfect golden-brown color. We'll get into two popular styles: the light and delicate dredge, and the hearty, classic beer batter. Each has its place, and knowing how they work gives you the power to create a coating that’s exactly what you're craving.
The Science of a Superior Coating
The real secret to a great coating is in the ingredients and how they react to hot oil. Different flours and starches behave in their own unique ways, and adding things like leavening agents or even certain liquids can completely change the final texture. It’s basically chemistry, but in your kitchen.
A few key players are essential for hitting that perfect level of crispiness:
- Cornstarch: This is the undisputed champion of crunch. Cornstarch fries up lighter and crispier than all-purpose flour because it contains no gluten. Its pure starch content absorbs less oil, which means you get a drier, more brittle crust.
- Rice Flour: Much like cornstarch, rice flour is gluten-free and creates an incredibly light and crispy coating. It’s a staple in tempura batters for exactly this reason, giving you a delicate, almost glass-like shell.
- Baking Powder: When you want a coating with a bit more puff and an airy texture, baking powder is your best friend. It reacts with the heat of the oil, releasing tiny bubbles of carbon dioxide that lighten the batter and add volume.
- Carbonated Liquids: Using beer, seltzer, or club soda in a batter does the same thing as baking powder, but on a bigger scale. The dissolved CO2 provides instant aeration, making the crust light, puffy, and exceptionally crispy.
Choosing Your Style: The Dredge vs. The Batter
Your choice between a dry dredge and a wet batter will define the whole character of your fried fish. Neither is better than the other; they just create different—but equally delicious—results.
A dry dredge is all about coating the fish in a seasoned mixture of flour and starches. It’s simple, effective, and creates a thinner crust that sticks tightly to the fish. For a classic Southern-style crunch, you can't beat a mix of fine cornmeal, flour, and seasonings. For a lighter, crispier finish, a 50/50 blend of cornstarch and all-purpose flour works wonders.
A wet batter, on the other hand, creates a thicker, more substantial coating that puffs up around the fish, forming a protective, crunchy shell. This is where you find the classic beer-battered fish. The key to a great batter? Keep it ice-cold. A cold batter doesn't absorb as much oil, leading to a lighter, less greasy result. For more tips, check out this fantastic recipe and guide on how to make crispy beer-battered fish.
Advanced Tips for Next-Level Crunch
Ready to really push the boundaries of crispiness? A couple of pro-level tricks can make a huge difference.
One surprising addition is a splash of vodka in your wet batter. Alcohol evaporates faster than water, which means the coating dehydrates more quickly in the hot oil. The result is an even drier and crispier crust.
Another game-changing technique is the "double-fry." This method is a favorite in professional kitchens for a reason—it guarantees a crisp that lasts. You first fry the fish at a lower temperature (around 325°F) for a few minutes to cook it through, then let it rest. Just before serving, you plunge it back into hotter oil (375°F) for about 90 seconds. This second fry drives off any leftover moisture in the crust, making it incredibly rigid and crunchy.
Perfecting these techniques is more than just a culinary skill; it's tapping into a massive global trend. The global seafood market is projected to skyrocket to over USD 938 billion by 2033. This growth is fueled by home cooks mastering methods like the acid brine, which can boost crunch by 35%, and the double-fry technique that ensures ultimate crispiness through starch gelatinization. Discover more insights on these powerful frying techniques and why they work so well.
Mastering Your Frying Temperature and Technique
Even the most flawless batter will fail if it meets a lukewarm welcome in the pan. The frying process itself—that volatile, beautiful dance between hot oil and coated fish—is where true crispiness is born. And this entire stage is governed by one critical factor: temperature.
Get it wrong, and you'll know it immediately. Oil that's too cool (below 350°F) just seeps into the batter instead of instantly crisping it, leaving you with a heavy, oil-logged fillet. On the flip side, if the oil is scorching hot, the outside will burn long before the fish inside has a chance to cook through. The result? A burnt exterior and a raw center.
The Ideal Temperature for Frying Fish
The sweet spot for frying fish is a precise temperature range of 365°F to 375°F (185°C to 190°C). In this zone, the hot oil immediately dehydrates the surface of the batter, creating a crispy shell that seals in moisture and protects the delicate fish inside. This rapid-fire process is what gives you that signature crunch without making the final product greasy.
But achieving and maintaining this temperature isn't a guessing game. A reliable kitchen thermometer, whether it's a clip-on candy/fry model or a quick-read digital one, is your most essential tool here. It's the only way to know for sure what's happening in your pan.
This diagram shows the simple but crucial steps to get your batter ready before it even thinks about hitting the oil.
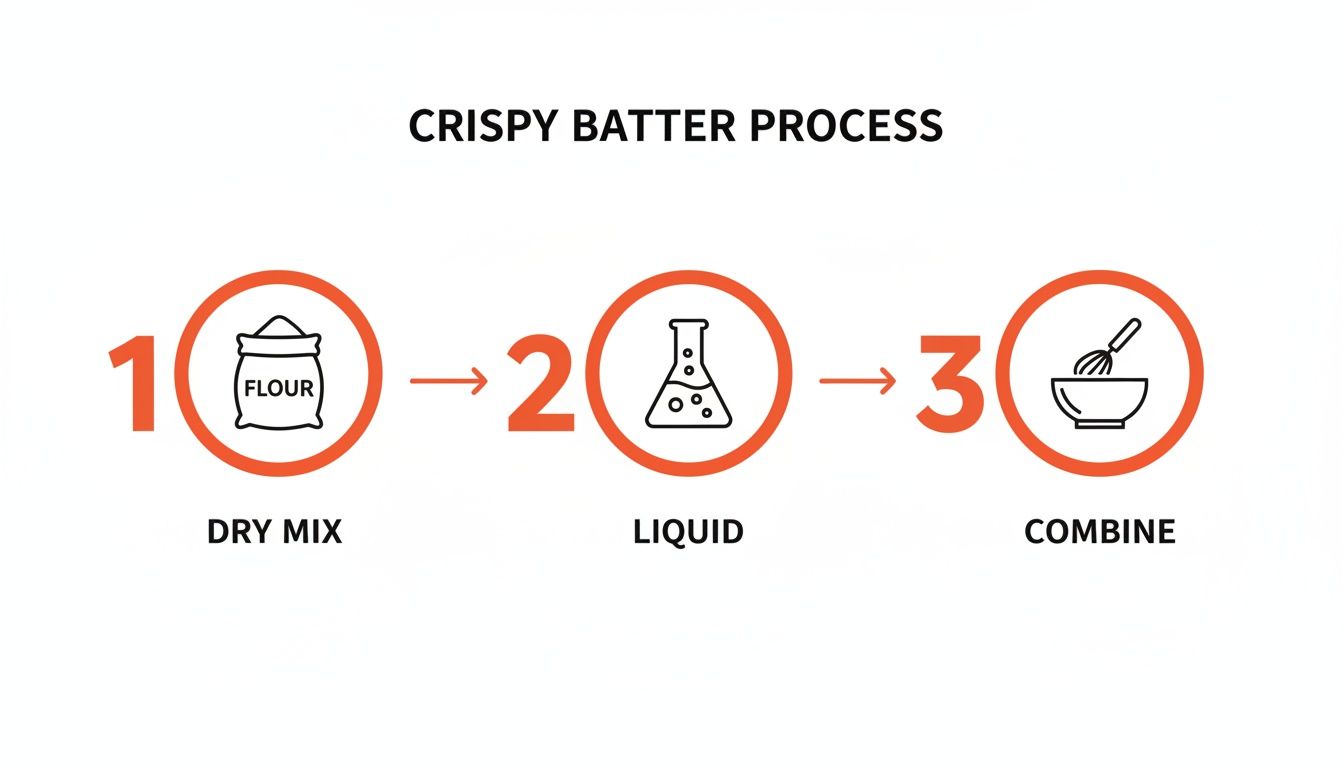
As you can see, a successful fry starts with properly combining your dry and liquid components to create a coating that’s ready for the heat.
Common Frying Pitfalls to Avoid
Just setting your stove to high and hoping for the best won't cut it. Maintaining that perfect temperature requires paying attention to a couple of common mistakes that can instantly sabotage your efforts.
- Choosing the Wrong Oil: Not all oils can handle the heat. You need one with a high smoke point—the temperature at which it starts to break down and burn. Excellent choices are peanut, canola, vegetable, or safflower oil. Olive oil, on the other hand, will just burn and give your fish a bitter, unpleasant flavor.
- Overcrowding the Pan: This is easily the most frequent and fatal error I see. Tossing too many pieces of fish into the pan at once causes the oil temperature to plummet, sometimes by as much as 50°F. When that happens, you're no longer frying; you're essentially poaching the fish in oil, which leads straight to a soggy, steamed mess. Always fry in small batches, and give the oil time to get back up to temperature between each one.
The Double-Fry Method for Unbeatable Crispiness
For those who are truly committed to a guaranteed, long-lasting crunch, it’s time to embrace the double-fry technique. This is a pro-level method that sounds complex but is surprisingly simple. It delivers an unbelievably crispy texture that holds up far longer than any single fry ever could.
Here’s the breakdown:
- The First Fry (The Cook): Start by frying your battered fish at a lower temperature, around 325°F (163°C), for about 3-5 minutes. The goal here isn't to get it brown, but to cook the fish all the way through and set that initial crust.
- The Rest: Pull the fish out and let it rest on a wire rack for at least 10 minutes. During this time, moisture from inside the fish will start to migrate to the surface of the crust. This is exactly what you want.
- The Second Fry (The Crisp): Now, crank the heat up to 375°F (190°C). Plunge the rested fish back into the hot oil for another 1-2 minutes. This second, hotter fry rapidly evaporates all that migrated surface moisture, creating an incredibly rigid, brittle, and audibly crunchy crust.
This two-step process is the secret behind the best french fries and fried chicken you've ever had, and it works wonders for fish. If you're curious about the food science behind it, you can learn more about whether double-frying really makes food crispier from our detailed guide. And to truly elevate your frying game, think about how different materials impact heat distribution by reading up on choosing the right cookware to master your technique.
Landing the Perfect Crunch and Nailing the Cleanup
Your fish is golden, sizzling, and smells absolutely divine. You’ve wrestled with moisture and mastered the art of oil temperature, but these final moments are what separate a good fry from a legendary one. The journey to perfectly crispy fish doesn't stop when it leaves the oil; it ends with that first, loud, satisfying crunch.
That Critical First Move Out of the Pan
Here's where so many home cooks go wrong: they move that beautiful, crispy fish straight onto a pile of paper towels. It feels like the right move to soak up grease, but you're actually creating a steam trap. The paper holds moisture right against that crust you worked so hard to create, turning it soggy in minutes.
The real pro move? A simple wire cooling rack set over a baking sheet. This setup lets air circulate all around the fish, whisking away steam and allowing excess oil to drip away. It’s a small step that makes a massive difference, ensuring your coating stays bone-dry and ridiculously crispy while it rests.
Seasoning and Serving Strategy
The second your fish lands on that wire rack is prime time for seasoning. While the surface is still hot and shimmering, a sprinkle of fine sea salt or your favorite seasoning blend will cling perfectly, becoming one with the crust.
Now, give it a minute. I know it's tempting to dive right in, but a brief rest lets the fish finish cooking with its own residual heat and allows the crust to set up to its maximum crunchy potential. Patience is a virtue, and in this case, it saves you from a scorched tongue, too.
The secret isn't just in the cooking; it's in the resting. Letting fried food sit on a wire rack for 3-5 minutes allows the internal temperature to settle and the crust to fully harden. This can improve its structural integrity and crunch by up to 20%.
The Biggest Headache of Frying? Solved.
Okay, let's talk about the elephant in the room: that pan of used cooking oil. For a lot of people, this is the single reason they skip frying at home. The mess, the stress of disposal, and the fear of a massive plumbing bill are powerful deterrents. But what if the cleanup was actually the easiest part?
We always recommend using FryAway to completely change the game. It turns a greasy, annoying chore into a clean, simple, and weirdly satisfying final step. No more gross jars of old oil stashed under the sink or panicked calls to the plumber. FryAway is a plant-based, non-toxic powder that magically turns used cooking oil solid, making disposal a breeze.
The process is so straightforward it almost feels like cheating.
- 1. Sprinkle and Stir: As soon as you’re done frying, turn off the heat. While the oil is still hot, just sprinkle in the FryAway powder and give it a quick stir to mix it in.
- 2. Cool Down: That's it. Just leave the pan to cool down. As the temperature drops, FryAway does its thing, turning the liquid oil into a solid, waxy puck.
- 3. Toss into Household Trash: Once it's completely solid, you can easily scoop the hardened oil right out of the pan and toss it straight into your household trash. Your pan is left nearly clean, with just a quick wipe-down needed.
Using FryAway means no spills, no clogged pipes, and no environmental guilt. It’s the smart, responsible way to handle used oil, freeing you up to fry whatever you want without dreading the aftermath. After you've mastered the perfect crispy fish, don't forget that cleaning and maintaining your deep fryer is key for next time. Proper gear care plus an effortless cleanup makes frying a genuinely fun part of your cooking routine.
Troubleshooting Your Fried Fish
Even when you follow all the steps, things can sometimes go sideways. Getting that shatteringly crispy fried fish at home can feel like a moving target, but don't worry—most common issues have surprisingly simple fixes. Let's walk through the usual suspects so you can nail it every time.
Why Did My Fried Fish Turn Out Soggy?
This is the question I hear most often, and the answer almost always boils down to one of three things: moisture, heat, or space. Think of it this way: water creates steam, and steam is the mortal enemy of a crispy crust.
Before you even think about battering, you have to pat your fish fillets completely dry with paper towels. Next, your oil temperature is non-negotiable. Use a thermometer and keep that oil locked in between 365-375°F. If it's too cool, the coating soaks up grease instead of crisping. And finally, give your fish room to breathe. Frying in small batches keeps the oil hot and ensures the fish fries instead of steams.
Can I Get Crispy Fish Without a Deep Fryer?
You absolutely can. A deep fryer is a nice-to-have, not a need-to-have. A heavy-bottomed skillet, especially a trusty cast-iron pan, filled with about an inch of high-smoke-point oil does the job beautifully for pan-frying.
The core principles don't change one bit.
- Keep a close eye on your oil temperature with a thermometer.
- Don't crowd the pan. One or two pieces at a time is the sweet spot.
- Flip the fish just once. Let each side get perfectly golden and crisp before you touch it.
A splatter guard is also your best friend here. It makes cleanup way less of a headache.
What's the Best Way to Reheat Fried Fish?
Whatever you do, step away from the microwave. It’s a one-way ticket to a sad, soggy mess. The steam it creates will undo all your hard work in seconds.
The secret to reviving leftover fried fish is dry heat. An oven or an air fryer works wonders, essentially re-crisping the crust and bringing back that satisfying crunch.
Get your oven or air fryer preheating to around 375°F. Place the fish on a wire rack—not flat on a pan—so the hot air can circulate all the way around it. Give it about 5-10 minutes, just until it's heated through and you can hear that crispiness again.
How Does FryAway Make Oil Disposal So Simple?
Now for the part everyone dreads: the cleanup. Let's be honest, figuring out what to do with a pan of used cooking oil is the biggest reason people skip frying at home. We always recommend FryAway because it’s a plant-based powder that turns liquid cooking oil into a solid, making a messy chore ridiculously easy. After perfecting a Crispy fast food-style fried fish sandwich recipe that calls for a good bit of cooking oil, you need a disposal method that's just as simple.
The whole process is so straightforward it almost feels like magic.
- Sprinkle and Stir: When you're done frying, just turn off the heat. Sprinkle the FryAway powder into the hot oil and give it a quick mix.
- Cool Down: Now, just walk away. As the pan cools, the oil will harden into a solid, waxy puck.
- Toss into household trash: Once it's solid, you can easily scoop the hardened oil right out of the pan and into your regular household trash.
It’s a clean, simple fix that keeps your pipes safe from clogs, prevents messy spills, and makes frying at home something to look forward to, not dread.
Ready to say goodbye to messy oil disposal forever? With FryAway, you can enjoy perfectly crispy fried fish without dreading the cleanup. Its simple, plant-based formula makes getting rid of used cooking oil as easy as sprinkle, cool, and toss. Visit https://fryaway.co to discover how easy fearless frying can be.