


· By FryAway
How to clean up oil spills in kitchen: A practical guide
That heart-stopping moment when a bottle of cooking oil slips and glazes your kitchen floor is something most of us know all too well. Before panic sets in, remember this: acting fast is the key to preventing a simple slip-up from turning into a dangerous, greasy mess.
Your first move? Contain the spread. Grab the nearest absorbent powder you have—cornstarch, flour, or even salt will do the trick. This isn't about the final cleanup just yet; it's about damage control and keeping everyone safe.
Effective Immediate Oil Spill Response
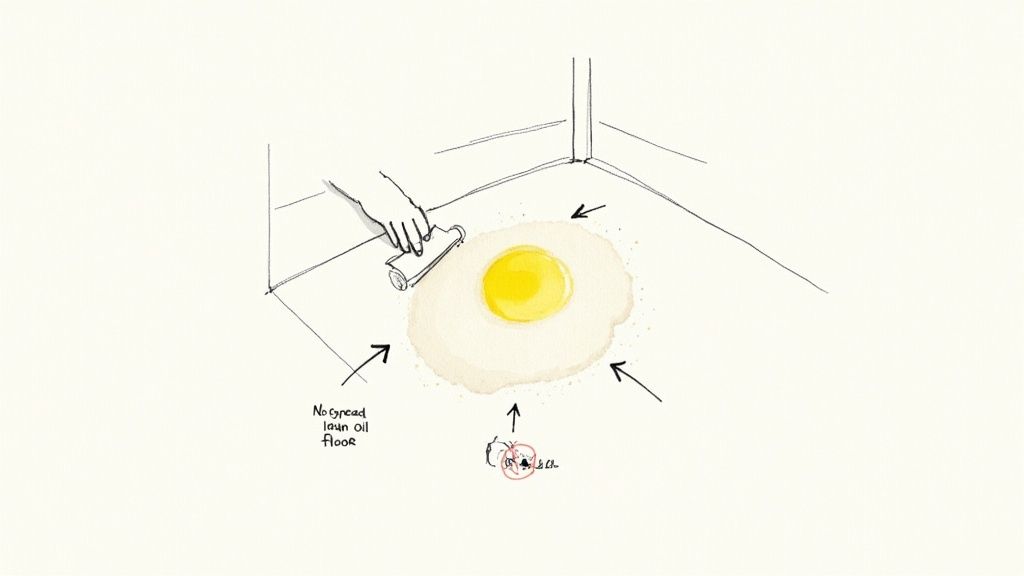
A puddle of oil on the floor isn't just a stain waiting to happen; it's a serious slip hazard. The strategy here is borrowed straight from commercial kitchens, where they know a thing or two about dealing with grease. The goal is to stop the oil in its tracks before it has a chance to spread further.
Think of it as building a quick dam. Simple household powders like baking soda, salt, or cornstarch create a barrier and start soaking up the oil, buying you precious minutes to grab the rest of your cleanup gear. In a pinch, even paper towels or a flattened cardboard box can act as a temporary border.
A few quick tips to get started:
- Block off the area so no one accidentally walks through it. A chair or a brightly colored towel on the floor works if you don't have a "caution" sign handy.
- Liberally sprinkle baking soda or cornstarch around the edges of the spill to stop it from creeping outward.
- Once the powder has soaked up a good amount of oil, use a dustpan or a stiff piece of cardboard to scrape up the saturated gunk.
This method is tried and true. In fact, a guide from Mopac, a leader in cooking oil management, emphasizes this exact two-step process: contain first with a barrier, then absorb with something like kitty litter or cornstarch, letting it sit to maximize effectiveness. You can read more about their commercial-grade tips here.
Most importantly, keep kids and pets far away from the slick zone. For more tips on preventing these kinds of accidents in the first place, check out our guide on kitchen safety guidelines.
“Containment and absorption are your best defense against slippery hazards.”
When a spill happens, your brain might go into overdrive. Here's a quick reference table to keep your response sharp and effective.
Quick Actions for Kitchen Oil Spills
| Action | Why It's Important | Household Items to Use |
|---|---|---|
| Secure the Area | Prevents slips and stops the oil from being tracked through the house. | A warning sign, a bright towel, or even a chair. |
| Contain the Spread | Stops the puddle from growing larger and seeping into grout or baseboards. | Flour, salt, cornstarch, or baking soda. |
| Absorb the Bulk | Soaks up the majority of the liquid, making the final degreasing step much easier. | A dustpan and scraper, or a sturdy piece of cardboard. |
These first few minutes are crucial, so having a plan makes all the difference.
Essential Safety Precautions
Before you even start cleaning, get the right gear on. Swap your socks or bare feet for rubber-soled shoes to give you solid footing. If the spill happened near the stove, make sure any active burners are turned off. This prevents accidental flare-ups and allows hot oil to cool down a bit before you handle it.
Protect your hands, too. A simple pair of disposable nitrile gloves or your everyday kitchen mitts will shield your skin from hot oil or any cleaning agents you use later.
As you work, wipe down your tools—like the dustpan or scraper—to keep them from getting caked in greasy residue. Once you think you're done, do a final check by pressing a clean, dry paper towel onto the spot. If it comes up clean, you're good to go.
This infographic breaks down the immediate flow—secure, contain, absorb—to help you turn a moment of panic into a controlled, manageable cleanup.
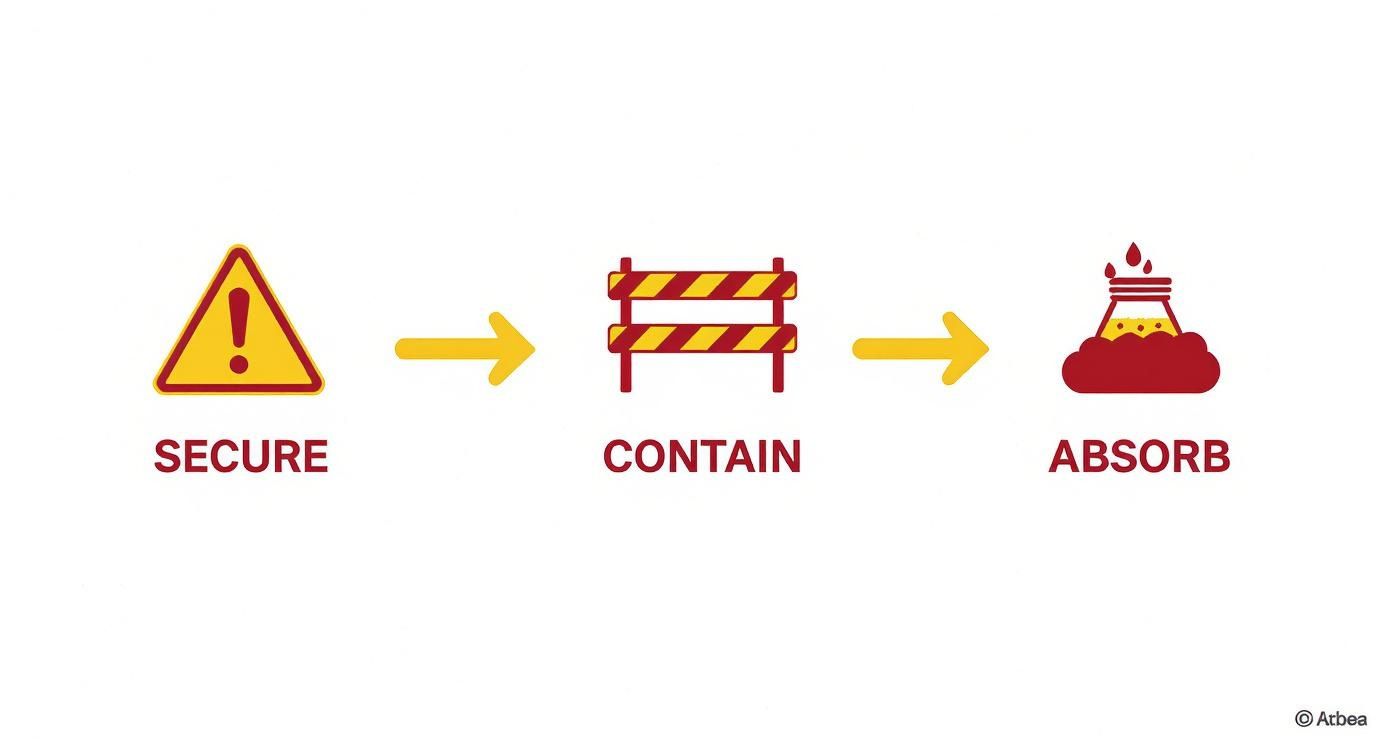
It’s a great visual reminder of how a quick barrier and a good absorbent can work together to tackle the mess head-on.
Now, what about the oil you scraped up, or any leftover oil still in the pan? That's where FryAway comes in for a clean, simple finish.
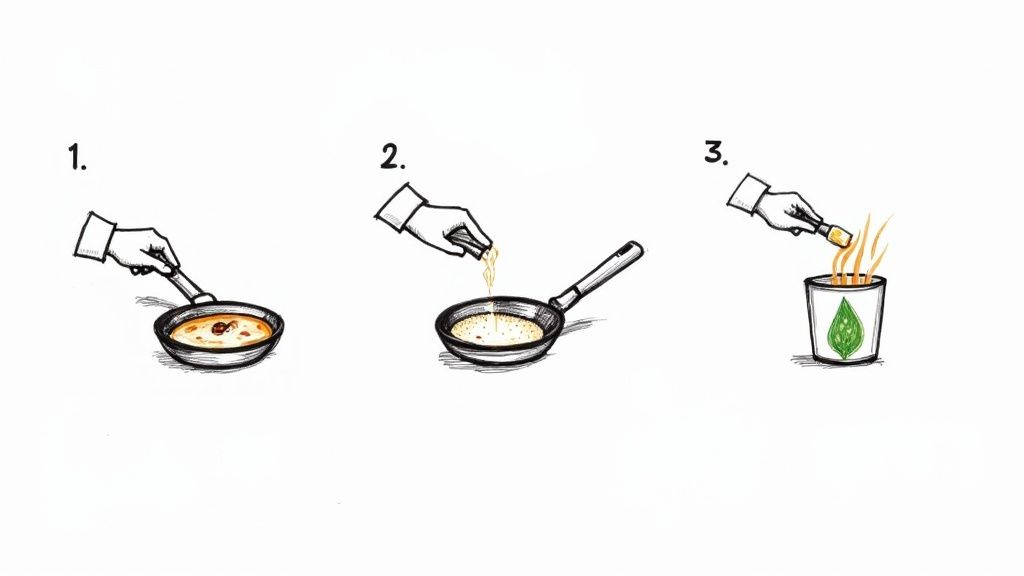
- 1) Sprinkle and Stir: Just add the FryAway powder into the warm, leftover oil.
- 2) Cool Down: Let the mixture sit and solidify completely.
- 3) Toss into household trash: Scoop the solid puck of oil right into your household garbage.
This simple process keeps that nasty grease out of your pipes and is a much better choice for the environment.
Cleaning Oil from Different Kitchen Surfaces
Okay, you've contained the immediate spill. Now comes the real cleanup. The thing about cooking oil is that it behaves very differently depending on where it lands. Cleaning a slick off a sealed granite countertop is a walk in the park compared to coaxing it out of unsealed grout lines.
Using the wrong approach can just spread the greasy mess around or, even worse, damage your surfaces. Your strategy for how to clean up oil spills in kitchen spaces really comes down to one thing: the material you’re dealing with. Non-porous surfaces are forgiving, but porous ones need a bit more finesse.
Tackling Non-Porous Surfaces
If the oil landed on your sealed countertops, linoleum, or ceramic tiles, you're in luck. These materials are your best-case scenario because they resist absorbing liquids. Your main goal here is just cutting through that greasy film without leaving behind a streaky mess.
After you've scraped up the absorbent powder, grab a good degreasing dish soap. Mix a few drops with hot water, dip in a microfiber cloth or sponge, and start scrubbing. The hot water and soap combo will break down that oily residue. Just be sure to rinse your cloth often in clean, hot water so you aren't just smearing grease back onto the surface.
Lifting Oil from Porous Materials
This is where things get tricky. Porous surfaces like unsealed wood, concrete, natural stone, or grout lines love to drink up oil, creating a stain that goes deep. Wiping the surface won't cut it—you have to actually draw the oil out.
For these tougher jobs, a simple paste of baking soda and a little water works wonders. Slather it over the stain and be patient. You'll want to let it sit for several hours, or even overnight if the stain is stubborn. The paste actively pulls the oil up and out of the material's pores. Once it's done its job, you can gently scrub it away. For wooden surfaces especially, it helps to know the best way to clean wood kitchen cabinets to protect them after a spill.
Removing Oil from Fabrics
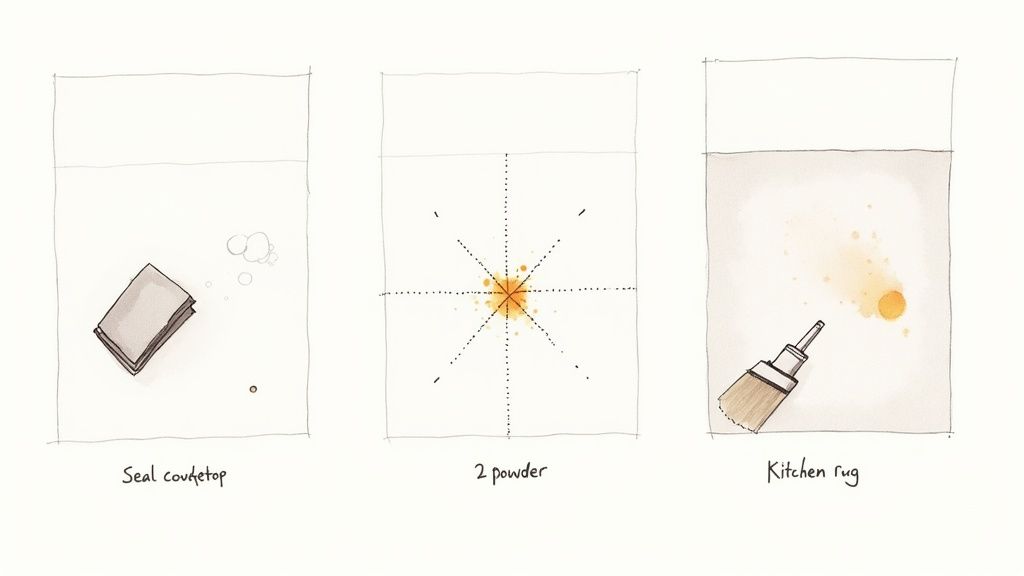
Did some hot oil splatter onto your favorite dish towel or the kitchen rug? The key is to act fast. Immediately blot the spot with a clean, dry cloth. Whatever you do, don't rub! Rubbing just grinds the oil deeper into the fibers, making it much harder to remove.
Once you’ve blotted, liberally sprinkle cornstarch or baking soda over the stain. Let it sit for at least 30-60 minutes so it has time to absorb the grease. After that, you can shake it out or vacuum it up. Treat any remaining spot with a dab of dish soap before throwing it in the laundry.
Pro Tip: For a really stubborn fabric stain, work a tiny amount of dish soap into the spot with a soft-bristled brush (an old toothbrush is perfect for this) before washing. This helps break down the oil that's already bonded with the fabric.
No matter where your spill happened, you're still left with used oil in the pan that needs to be dealt with. This is exactly where a product like FryAway comes in to make your life easier.
- 1) Sprinkle and Stir: While the cooking oil is still warm, just stir in the FryAway powder.
- 2) Cool Down: Let the pan sit until the oil cools and hardens into a solid puck.
- 3) Toss into household trash: Scoop the solidified oil right out of the pan and into your garbage bin.
It’s a simple, three-step finish to your cleanup that guarantees no liquid oil ever messes up your drain.
Safe And Simple Oil Disposal With FryAway
Once you’ve wiped down your countertops and mopped the floor, the pan full of used oil still stands in your way. Pouring it down the sink might seem harmless, but that decision can lead to stubborn clogs and costly repairs.
Enter FryAway—a 100% plant-based, non-toxic powder that instantly turns dangerous liquids into easy-to-handle solids. Think of it as the finishing touch in your arsenal for mastering kitchen oil cleanup.
The Easy Three-Step Process
This method takes moments and leaves no greasy mess behind. Simply:
- 1) Sprinkle and Stir: While the oil is hot, add FryAway powder directly into the pan. Give it a quick swirl until it vanishes into the liquid.
- 2) Cool Down: Set the pan aside and let it reach room temperature. During this pause, the grease firms up into a rubbery puck.
- 3) Toss into household trash: Scoop out the hardened puck and toss it into your household trash—no leaks, no pipes at risk.
Why Solidifying Oil Is A Smarter Choice
Beyond convenience, solidifying oil protects both your plumbing and the planet.
- Turning liquid oil into a solid puck prevents pipe blockages and makes disposal foolproof.
- Cutting-edge studies on recycled-oil polymers reveal over 85% capacity in large-scale spill recovery.
By transforming liquid grease into a firm, catch-and-carry form, you’re not just tidying your kitchen—you’re safeguarding your plumbing and reducing environmental harm.
For anyone who regularly fries larger batches—be it wings, fries, or onion rings—consider FryAway Super Fry. Designed for deep fryers, it can solidify up to 24 cups of oil, ensuring your next cleanup stays quick and worry-free.
Advanced Degreasing for a Squeaky-Clean Finish
Once you've soaked up the worst of the spill, you’re left with the real enemy: that invisible, treacherous film of grease. This is the final boss in your cleanup battle. Even when a surface looks clean, this slick residue can turn your kitchen into a skating rink.
This final degreasing step isn’t just about looks—it’s about safety. It's absolutely non-negotiable for getting your kitchen back to a safe, non-slippery state.
Luckily, you don't have to reach for harsh chemicals to cut through it. Your best weapon is often a simple but powerful mix of hot water and a quality dish soap. The soap molecules are engineered to latch onto fat and oil, breaking them down so you can wipe them away for good.
Creating Your Degreasing Solution
For most everyday spills, a homemade solution is all you need. The trick is to use hot water, which helps melt the grease and lets the soap work its magic more effectively.
- Mix: Add a few drops of a strong, grease-fighting dish soap to a spray bottle or bucket of hot water.
- Apply: Grab a microfiber cloth or sponge and apply the soapy water directly onto the greasy patch.
- Scrub: Use small, circular motions. This helps lift the oily film instead of just pushing it around.
- Rinse: Finish by wiping the area with a fresh cloth dipped in plain hot water to clear away any soap residue.
This simple method is a fantastic starting point. But if you're aiming for a truly spotless cooking space, we have a few more tricks up our sleeve. Check out our guide on mastering a grease-free kitchen for more pro tips.
Ensuring a Truly Clean Surface
So, how do you know the floor is genuinely safe to walk on again? Trust the "paper towel test."
Once the surface feels completely dry, press a clean, dry paper towel firmly onto the spot. If it lifts off clean, you've won. But if it picks up even a hint of an oily sheen, it's time for another round of degreasing.
Don't mistake a shiny floor for a clean one. A lingering greasy film is a slip-and-fall accident waiting to happen. Always test the surface to ensure it's completely free of residue before letting family members walk through the area.
While you're finishing up, don't forget about the leftover oil in the pan from that crispy fried chicken or those perfect french fries. Instead of risking another spill, make disposal simple and clean with FryAway.
- 1) Sprinkle and Stir: Just add FryAway powder to the still-warm cooking oil and give it a quick mix.
- 2) Cool Down: Let the oil cool completely. You'll see it transform into a solid puck right in the pan.
- 3) Toss into household trash: Scoop the hardened oil out and drop it straight into your garbage can.
This final touch ensures your entire kitchen cleanup is as mess-free and safe as your newly sparkling floors.
Delicious Fried Recipes Worth the Cleanup
Now that you know how to tackle any oil spill, don't let the fear of a mess keep you from the foods you love. When you're armed with the right techniques and a solid disposal plan, frying at home becomes a whole lot less intimidating.
To celebrate your new cleanup confidence, here are a couple of classic fried recipes that are absolutely worth the effort. These dishes need hot cooking oil to get that perfect, crave-worthy texture, but the best part is the cleanup is way easier than you think.
Crispy Southern Fried Chicken
Nothing screams comfort food quite like a platter of golden, crispy fried chicken. The real secret is in the seasoned dredge and making sure you have enough hot peanut or canola oil to get that perfectly even, crunchy crust.
While you're cooking, keep a splatter screen nearby to keep the mess contained. After you’ve pulled out the last piece of chicken, let the oil in the pan cool down just a bit. This is your moment to make cleanup a total breeze.
Simply sprinkle in FryAway, give it a quick stir, and let it cool completely. The used oil will turn into a solid puck you can just scoop into the trash. Your pan is left almost clean and your pipes are 100% safe.
Perfect Homemade French Fries
Let's be honest, store-bought fries just can't compete with the crispy-on-the-outside, fluffy-on-the-inside magic of homemade ones. The key is the double-fry method in a neutral cooking oil: a first fry at a lower temp cooks the potato all the way through, and a second, hotter fry delivers that signature golden crunch.
Of course, this means your cooking oil gets a real workout.
After you've devoured the last fry, that leftover oil doesn't have to be a headache. Just follow the simple, three-step FryAway process for a totally mess-free finish.
- 1) Sprinkle and Stir the powder into the still-warm cooking oil.
- 2) Cool Down and just let the oil solidify right there in the pan.
- 3) Toss into household trash by scooping out the hardened puck.
With such a ridiculously easy way to handle used cooking oil, you can finally focus on perfecting your frying game instead of dreading the aftermath. Go ahead and get cooking—the reward is a fantastic meal, and now the cleanup is the easiest part.
Frequently Asked Questions About Kitchen Oil Spills
Handling a kitchen oil spill is more than just grabbing a rag. You need the right know-how to keep danger at bay. Here, we tackle the questions that come up most often—and give practical fixes you can trust.
From the moment oil hits the floor to strategies that stop future messes, having clear guidance makes all the difference.
Can I Use Water To Clean Up A Cooking Oil Spill
It may seem natural to reach for a jug of water, but water and oil simply don’t mix. Pouring water can spread the slick over a larger surface, upping the risk of a nasty fall.
Start by blotting up as much oil as possible with absorbent material—flour, kosher salt or plain paper towels work wonders. Once the bulk is gone, tackle the residue with hot water and a strong degreasing dish soap. The soap molecules surround the grease, letting the water finally do its job. For any remaining cooking oil in your pan, solidify it with FryAway for easy disposal.
What Is The Safest Way To Dispose Of Oil-Soaked Paper Towels
Bundles of oily rags or paper towels can heat up and, in rare cases, ignite if they’re tossed carelessly into a trash bin. That’s not a risk you want.
• Seal Damp Tossables: Slide used towels into a small, sealable plastic bag.
• Use Airtight Containers: Metal tins with tight lids keep air—and fire—out.
• Rethink Disposal: Instead of wrestling with greasy towels, try a product built for this task.
Using FryAway transforms messy, oil-soaked waste into a neat, solid puck you can safely drop in the trash. The 3-step process is simple: 1) Sprinkle and Stir, 2) Cool Down, and 3) Toss into household trash.
How Can I Prevent Kitchen Oil Spills In The Future
Prevention beats cleanup—every single time. A few simple shifts in how you cook and organize can reduce the chance of a grease catastrophe.
• Pick The Right Pan: A stable, flat-bottomed skillet adds balance; never overfill it with oil.
• Clear The Counter: Stow away loose items—oven mitts, spice jars, even stray utensils.
• Steady Hands: When moving a hot pan, support it with two hands and a clear path.
• Tuck Handles Inward: Point handles to the back of the stove to avoid accidental nudges.
Keep essentials like baking soda and a bag of FryAway within arm’s reach. Beyond immediate cleanup, maintaining general kitchen hygiene is important. You might be interested in learning more about how often you should generally clean your kitchen to prevent grime buildup.
Tired of wrestling with greasy jars and clogged drains? FryAway makes oil cleanup effortless.
• 1) Sprinkle and Stir into warm oil.
• 2) Cool Down and watch it solidify.
• 3) Toss the hardened puck into your household trash.
Visit FryAway.co to learn more and simplify your kitchen routine today!