


· By FryAway
How to Make Crispy French Fries at Home
The key to unbelievably crispy french fries isn't some closely guarded restaurant secret. It's actually a straightforward two-part process that anyone can master at home: a cold water soak followed by a double-fry.
This method is the only way to get that perfectly fluffy, steamy interior and a shatteringly crisp, golden-brown exterior. Get ready to leave sad, soggy fries in the past.
The Secrets To Perfectly Crispy French Fries
Ever wonder how your favorite burger joint gets that incredible, lasting crunch on their fries? It’s not magic; it’s a specific technique. And the good news is, you can absolutely replicate it in your own kitchen.
It all boils down to a few key details: choosing the right potato, understanding why a simple cold-water bath is a game-changer, and mastering the precise temperatures of the double-fry method. Once you understand the "why" behind each step, you'll stop guessing and start making truly memorable fries every single time.
Why This Method Works
There’s a bit of delicious science at play here. Soaking the cut potatoes in cold water is non-negotiable because it pulls out excess surface starch. This is what keeps the fries from sticking together in the fryer and is the first step toward a truly crispy finish.
Then comes the double-fry technique, which is equally critical:
- The First Fry (The Blanch): This initial fry happens at a lower temperature, around 300°F. Think of it as gently poaching the potato in oil. This step is all about cooking the inside until it’s soft and fluffy without browning the outside.
- The Second Fry (The Crisp): After the fries have cooled, they go back into the oil at a much higher temperature—about 375°F. This quick, hot blast of oil evaporates any remaining surface moisture, creating that incredible golden crust we all crave.
This two-stage approach is the only way to ensure the inside is perfectly cooked before the outside gets a chance to burn.
A classic mistake is trying to cook fries in a single go at high heat. You almost always end up with fries that are burnt on the outside but still raw and hard in the middle. Patience and process are your best friends for great results.
Here's a snapshot of the essential stages for making perfectly crispy French fries every time.
Quick Guide to Maximum Crispiness
| Stage | Why It's Crucial | Key Action |
|---|---|---|
| Soak | Removes excess surface starch for a cleaner fry and better crisp. | Submerge cut potatoes in cold water for at least 30 minutes. |
| Dry | Moisture is the enemy of crispiness and causes dangerous oil splatters. | Pat fries completely dry with paper towels before they hit the oil. |
| First Fry (Blanch) | Cooks the potato interior until soft and fluffy without browning. | Fry at a low temperature (~300°F) for 3-5 minutes. |
| Cool | Allows moisture to evaporate and sets the potato for the final fry. | Rest blanched fries on a wire rack for at least 30 minutes. |
| Second Fry (Crisp) | Creates the golden, crunchy exterior by rapidly removing moisture. | Fry at a high temperature (~375°F) for 2-4 minutes until golden. |
Following these stages separates good fries from unforgettable ones.
Easy Cleanup After Frying
Let’s be honest, one of the biggest reasons people avoid frying at home is the dreaded oil cleanup. Pouring used cooking oil down the sink is a definite no-go—it solidifies in your pipes and can lead to seriously expensive plumbing disasters.
Thankfully, there’s a simple, mess-free fix. FryAway is a plant-based powder that magically transforms used cooking oil into a solid, making disposal a breeze.
After you're done frying up your amazing french fries, just follow these simple steps for cleanup:
- Sprinkle and Stir: Turn off the heat and carefully sprinkle the FryAway powder into the still-hot oil. A quick stir is all it takes to mix it in.
- Cool Down: Just leave the pan on the stovetop to cool down completely. As it cools, you’ll see the oil transform into a solid, waxy puck.
- Toss into household trash: Once it's solid, you can easily scoop the entire puck out of the pan and toss it right into your regular trash bin.
No more messy jars of used oil sitting on your counter, no spills, and definitely no clogged drains. It makes the whole process of making incredible fries at home that much more enjoyable from start to finish.
Choosing the Right Potato for Frying
The journey to the perfect French fry starts long before you get near a stove. It begins in the produce aisle. Honestly, your choice of potato is the single most important decision you’ll make, and it’s what separates a beautifully crisp fry from a sad, limp one.
For fries that truly stand out, the answer is always a high-starch potato.
Why Starch Is Your Secret Weapon
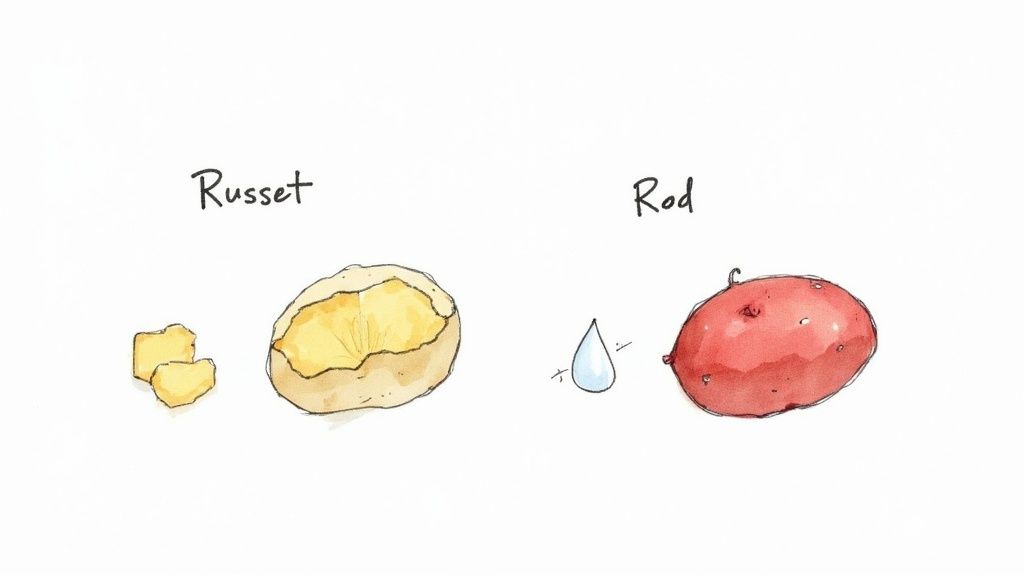
High-starch potatoes, like the classic Russet, are the gold standard for a reason. Inside, they're dense and mealy, which is exactly what you want for that light, fluffy interior when you bite into a hot fry. But even more important is their low moisture content.
Less water is the key. When the potato hits the hot cooking oil, that low moisture allows it to dehydrate efficiently, creating the rigid, golden-brown shell we all crave. This is a non-negotiable step in learning how to make crispy french fries that are as good as—or better than—your favorite restaurant's.
On the flip side, you have waxy potatoes. While they're fantastic in a potato salad because they hold their shape, they’re a disaster for frying. Their high water content essentially steams the potato from the inside out, making it impossible for a crispy crust to form. You're left with a dense, greasy mess.
When you're at the store, just remember this: a starchy potato fries up light and crisp. A waxy potato becomes heavy and oily. The difference is truly night and day.
Top Potato Picks for Frying
While Russets are the undisputed champion, you have a few other great options that perform wonderfully. Here’s what to look for:
- Russet Potatoes: The quintessential frying potato. Their long, uniform shape is a bonus, making them super easy to cut into those classic fry shapes.
- Idaho Potatoes: These are just Russets grown in Idaho, so they are an excellent and widely available choice. No surprises here.
- Yukon Gold: A fantastic all-purpose potato that leans starchy. They’ll give you a slightly creamier, richer texture than a Russet but still crisp up beautifully.
- Maris Piper: If you're in the UK, this is your go-to. They are famous for creating exceptionally fluffy interiors and are absolutely brilliant for frying.
No matter which variety you choose, look for firm potatoes with smooth, unblemished skin. Give a wide berth to any that are soft, have green spots, or are sprouting—these are signs of age that will mess with the final flavor and texture. Nailing this first step is what puts you on the path to frying perfection.
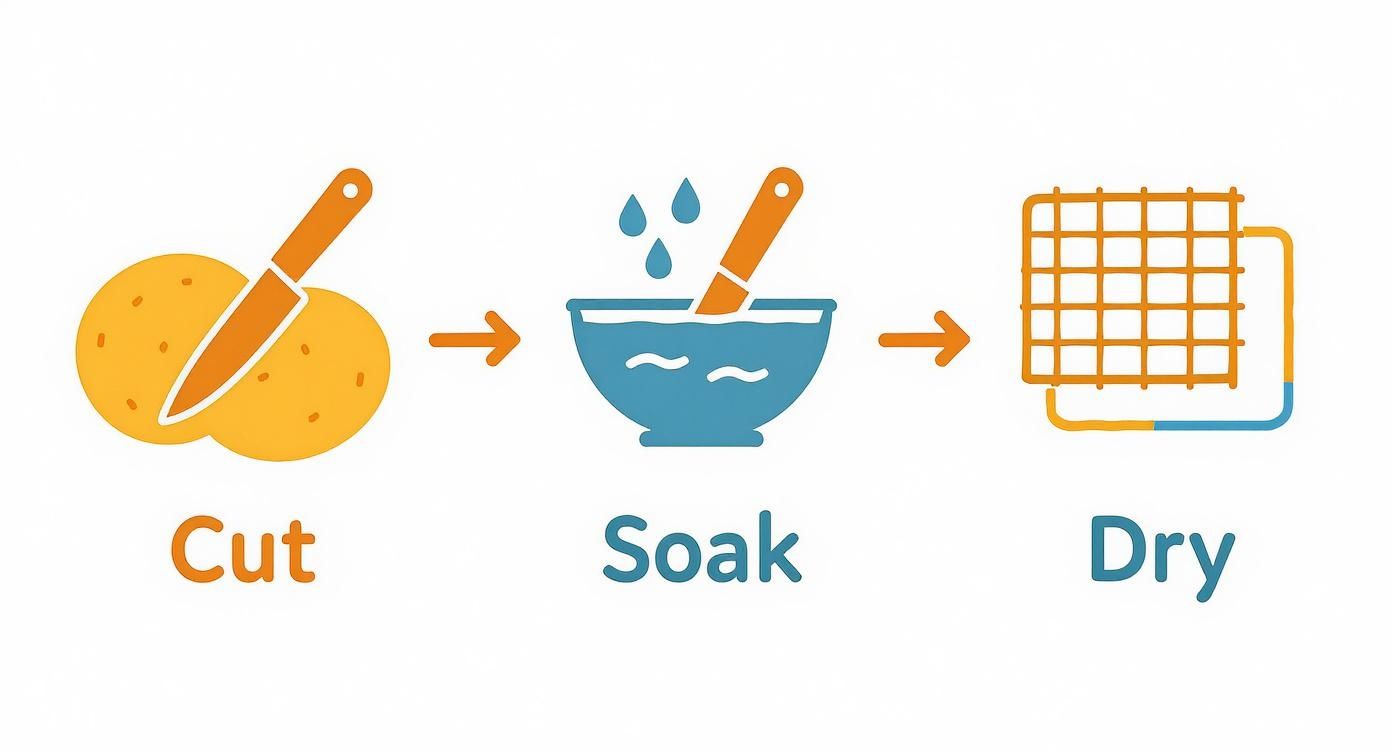
The Prep Work: Cutting and Soaking
Once you've got your high-starch potatoes in hand, the real magic begins. A lot of home cooks jump straight from chopping to frying, but that's a surefire way to get limp, greasy results. Two simple prep steps are all that stand between you and truly exceptional fries.
First up is the cut. Your main goal here is uniformity because you want every single fry to cook at the same speed. Whether you're a pro with a chef's knife or you prefer the speed of a mandoline, aim for consistent sticks between ¼-inch and ½-inch thick. This is the sweet spot—big enough to stay fluffy on the inside, but thin enough for the outside to get unbelievably crisp.
The Science of the Soak
After you’ve cut your potatoes, the next part is probably the most important step people skip: the soak. Just toss your cut potatoes into a big bowl, cover them completely with cold water, and let them hang out for at least an hour. If you have more time, a few hours in the fridge is even better.
This cold-water bath is doing some serious work behind the scenes. It's pulling all that excess surface starch off the potatoes, which is critical for a couple of reasons. First, it stops the fries from gluing themselves together in the hot cooking oil. Second, it helps the surface of the potato dehydrate faster during frying, which is the secret to that shatteringly crisp crust we're all after.
Think of it like this: excess starch is like a sticky glue that traps moisture. By washing it away, you’re paving the way for a much cleaner, crispier fry. It’s a tiny bit of extra time that delivers a huge payoff in texture.
The Final—and Most Critical—Prep Step
Okay, listen up. Before your fries even think about touching hot cooking oil, they have to be bone dry. I mean it. Water and hot oil are a dangerously explosive combination, and any splattering can lead to some nasty burns. Besides the safety issue, any leftover moisture is the absolute enemy of crispiness.
To get them perfectly dry, start by draining the soaked potatoes really well in a colander. Then, spread them out in a single layer on a clean kitchen towel or a few layers of paper towels. Lay another towel on top and press down firmly, patting until you can’t see any moisture left. This step ensures the hot oil can focus all its energy on creating that perfect golden crust, not just boiling off water. It's the last checkpoint before you master how to make crispy french fries at home.
Mastering the Double-Fry Method
If you want to know the one non-negotiable technique that separates good fries from truly great ones, this is it. The double-fry is how professional kitchens get that perfect textural contrast—a shatteringly crisp, golden shell giving way to a soft, fluffy interior. It’s a two-stage process, and while it takes a little patience, the results are absolutely flawless.
First up is the blanching fry. This initial swim in the hot cooking oil happens at a lower temperature, right around 300°F. The goal here isn't to get any color on the potatoes. Instead, you're gently cooking them all the way through until they are soft and tender, essentially poaching them in oil to set the stage for the final crisp.
Before your fries even touch the oil, remember that the prep work—cutting, soaking, and thoroughly drying—is the foundation for success.
The Critical First Fry
For this initial blanch, it's key to work in small batches. Overcrowding the pot will cause the oil temperature to plummet, turning your fries greasy. Carefully add your bone-dry potatoes to the 300°F cooking oil and let them cook for about 3-5 minutes. They won't look impressive at this stage; expect them to be pale and a bit limp. That’s exactly what you want.
Once they're cooked through, lift them out with a slotted spoon and transfer them to a wire rack to cool down completely. Letting them rest for at least 30 minutes is crucial. This step allows excess moisture to escape and helps the potato's structure firm up for that final, high-heat blast.
The Final Crisping Fry
Now for the magic. Crank up the heat until your cooking oil reaches a blistering 375°F. This second fry is all about speed and intense heat, designed to rapidly evaporate any remaining surface moisture and create that unbeatable crunch.
Carefully place the cooled, blanched fries back into the hot oil, again working in small batches. You'll hear them sizzle vigorously this time. Let them fry for just 2-4 minutes, or until they're a deep golden brown and wonderfully crisp. Pull them out with a slotted spoon, let them drain for a moment on the wire rack, and get ready to season.
The science behind this two-step process is pretty fascinating, and if you're curious, you can dive deeper into why double-frying creates crispier food in our detailed article.
This method is used on a massive scale. To give you some perspective, the United States processes over 2.6 million tons of potatoes into fries every year, with European production topping 1.8 million tons. To ensure those fries crisp up evenly, factories even use high-pressure water jets for perfectly uniform cuts.
While frying is the fun part, cleanup can be a real drag. That’s where FryAway makes the end of the process just as satisfying as the first bite. After your last batch comes out, simply turn off the heat and stir the FryAway powder into the hot oil. As it cools, the oil will transform into a solid puck you can easily scoop and toss right into your household trash. No mess, no fuss—just a clean and simple solution for any fried food recipe.
Seasoning and Smart Oil Cleanup
The moments right after your fries leave the hot cooking oil are just as crucial as the cooking process itself. This is your window to lock in that perfect flavor and set the stage for a surprisingly easy cleanup. Get this part right, and you'll elevate a good batch of fries to a truly great one.
The key is to act fast. That sizzle you hear as the fries land on the cooling rack? That’s your cue. You need to season them immediately. The light coating of hot oil still clinging to the surface is the perfect glue for your seasonings. If you hesitate for even a minute, that surface dries out, and your salt will just bounce right off.
A generous dusting of fine sea salt is the classic choice, but don't be afraid to experiment. A little garlic powder, smoked paprika, or your favorite spice blend can turn your homemade fries into something special.

The Messy Aftermath of Used Cooking Oil
Once you've devoured those perfectly crispy fries, you’re left with a pot full of used cooking oil. And let's be honest, this is the part nobody looks forward to. The absolute worst thing you can do is pour it down the sink. It might seem like a quick fix, but that hot oil will cool and solidify inside your pipes, creating stubborn clogs.
On a larger scale, it contributes to massive blockages in city sewer systems known as "fatbergs"—a nasty environmental problem that starts right in our kitchens. Stashing it in old jars just kicks the can down the road, leaving you with a messy, greasy container to deal with later. You need a better way to wrap up your frying adventure.
Pouring oil down the drain isn't just bad for your plumbing; it's a major environmental hazard. Used cooking oil can contaminate waterways, harming wildlife and ecosystems. Responsible disposal is a small step that makes a big impact.
Effortless Cleanup with FryAway
This is where FryAway completely changes the game. It’s a 100% plant-based powder that works like magic, transforming hot cooking oil into a solid, so disposal is incredibly simple and clean. No more messy jars, no more plumbing anxiety. It’s the modern solution to an age-old kitchen problem. And speaking of oil, choosing the right kind is important, so feel free to explore some of the best cooking oils for your next fried dish in our guide.
Here’s how simple it is to use FryAway:
-
Sprinkle and Stir: First, turn off the heat. While the oil is still hot, just sprinkle in the FryAway powder and give it a quick stir to make sure it mixes in completely.
-
Cool Down: Now, just walk away. Leave the pan to cool down on its own. As the oil cools, it will harden into a solid, waxy puck right there in your pan.
-
Toss into household trash: Once it's completely solid, you can easily scoop the puck out with a spatula and toss it straight into your household trash. Your pan is left practically clean, with no liquid mess to handle.
Got Questions About Your Fries? Let's Talk.
Even when you follow a recipe to the letter, things can go sideways. It happens to everyone. Getting those last few details right is what separates good fries from unforgettable ones, ensuring all that effort pays off with a perfectly golden, crunchy pile of potatoes. Let's tackle some of the most common hangups home cooks run into.
Probably the number one question I hear is, "Why are my fries so soggy?" Nine times out of ten, the culprit is moisture. If your potato sticks aren't bone-dry before they hit the cooking oil, they just steam instead of frying. The other major issue is overcrowding the pan, which sends the oil temperature plummeting and leaves you with a greasy, limp mess.
Troubleshooting Common Problems
To dodge these issues, always work in small batches and give those fries some personal space in the pan. Keeping the oil temperature steady is non-negotiable; a good thermometer is your best friend here. If you find yourself making the same mistakes over and over, it’s worth taking a look at these common deep-frying mistakes to avoid to really sharpen your technique.
Here are a few other classic fry dilemmas and their quick fixes:
- Uneven Cooking: This is almost always because your cuts are all different sizes. Try to be consistent, aiming for uniform ¼ to ½-inch sticks so everything cooks at the same pace.
- Lack of Color: Are your fries cooked but looking a little pale and sad? Your oil for that second fry wasn't hot enough. You need to make sure it hits a solid 375°F to get that beautiful golden-brown finish.
- Seasoning Won't Stick: You hesitated! Salt and spices need to go on the instant the fries come out of the hot oil. That's when they're primed to grab onto all that flavor.
Making Fries Ahead of Time
Can you prep fries in advance to make dinner time less chaotic? Absolutely! The double-fry method is practically designed for it. You can do the first fry—the blanching step—hours before you plan to eat. Just let the blanched fries cool completely on a wire rack, then you can cover and pop them in the fridge.
When you're ready to serve, heat your cooking oil back up to 375°F and give them their final, quick fry. They'll crisp up perfectly in just a minute or two, giving you piping hot, fresh fries without the last-minute stress.
While deep frying is the gold standard for fries, it's not the only way to get a crispy potato fix. If you're curious about other methods, our recipe for Crispy Air Fryer Potato Chips has some great techniques you can borrow. This recipe can be adapted for a deep fryer using peanut or canola oil for fantastic results.
This obsession with perfectly fried potatoes is nothing new. Thomas Jefferson actually became one of the first American fans of the dish while serving as minister to France from 1784 to 1789. His notes from the early 1800s mention "Pommes de terre frites à cru, en petites tranches"—potatoes deep-fried raw in small slices. People have been trying to perfect this for centuries!
Of course, no matter how you cook them, the last step is always cleanup. To make it completely painless, we recommend FryAway. Once you're done frying, just turn off the heat and follow these three simple steps:
- Sprinkle and Stir: Mix the powder into the hot cooking oil until it dissolves.
- Cool Down: Let the oil mixture cool down and solidify completely.
- Toss into household trash: Scoop the hardened puck of oil right into the trash can.
It’s truly the easiest way to deal with used oil, keeping your kitchen clean and your pipes clog-free.
Enjoying amazing fried foods like these crispy french fries is simpler than ever with FryAway. For a mess-free, eco-friendly way to clean up your used cooking oil, explore our products at FryAway.co.